 The Legend of Zelda - Map of Level 4 of Quest 2: The D (Zelda I NES mini)
 Walkthrough of the labyrinth "The D": Dungeon 4 of Quest 2 from Zelda I (The Legend Of Zelda NES mini)
Remove / restore spaces between grid cells --- Dungeon map in Flash -- Dungeon map in PNG
| A | B | C | D | |
| 1 |  |
 |
 |
|
| 2 |  |
 |
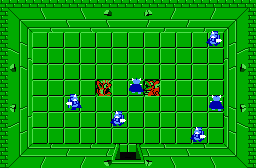 |
|
| 3 | 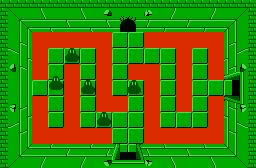 |
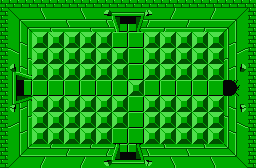 |
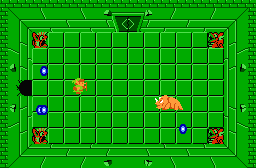 |
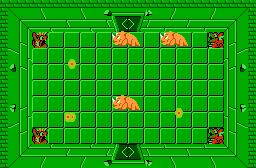 |
| 4 |  |
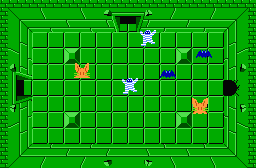 |
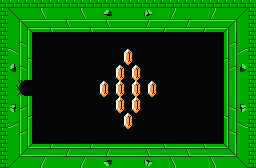 |
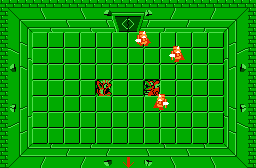 |
| 5 |  |
 |
 |
 |
| 6 |  |
 |
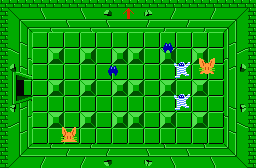 |
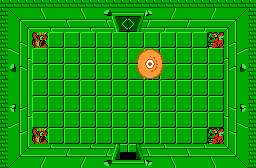 |
| 7 | 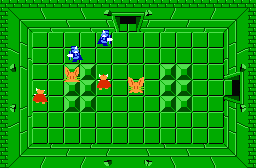 |
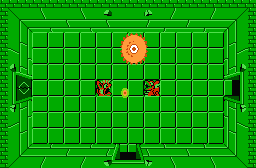 |
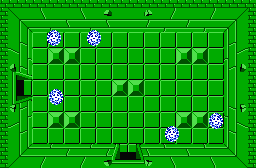 |
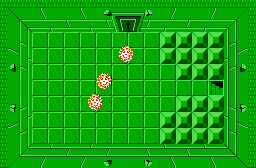 |
| 8 |  |
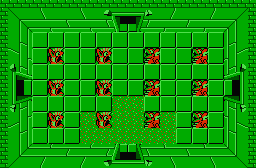 |
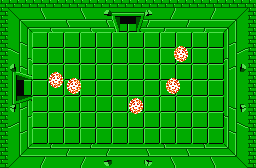 |
Small Key : A8, A5, B4, B2
Dungeon Map : C2
Compass : A7
Raft : D2
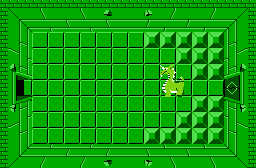
Book of Magic : C6
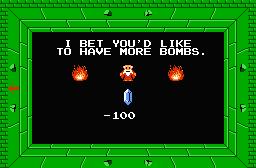
More Bombs : C5
| Back to The Legend of Zelda homepage |
| Back to Nes home |
- Français -- العربية -- বাংলা -- Deutsch -- English -- Español -- हिंदी -- Italiano -- 日本語 -- 한국어 -- Português -- Русский -- 中文 -