 Zelda 1 - Walkthrough of Dungeon 1 of Quest 2: The E (Zelda I NES mini)
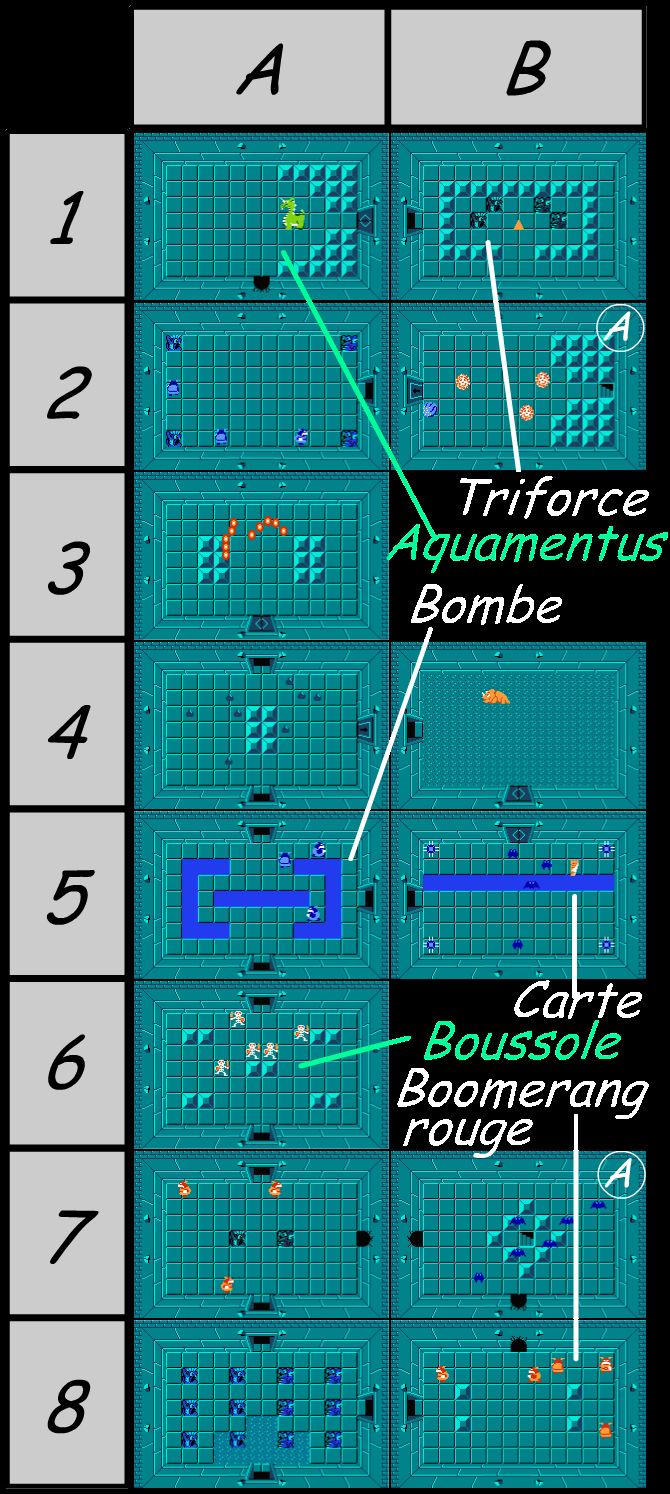
 Map of the labyrinth "The E": Dungeon 1 of Quest 2 from Zelda I (The Legend Of Zelda NES mini)
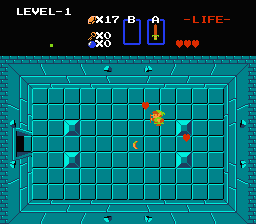
First go right and kill all the boomerang throwers to get a red boomerang. Then come back to the start and go up to kill the 3 red Goriyas to get a key. --(If like me you are lucky here, you can get bombs and if you wish, you can make a hole on the right to go to the end of the level)--.
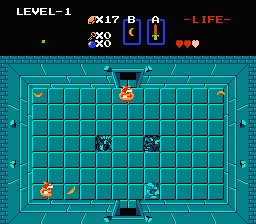
Go up to kill the Stalfos to get the compass, then go up again and kill the 3 blue Goriyas who will drop bombs. Go up once more and head right.
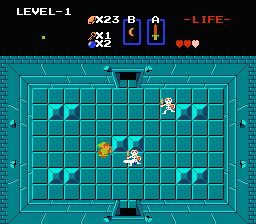
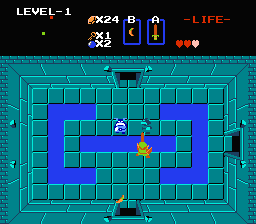
Kill the Dodongo while keeping at least 2 bombs (otherwise too bad for the map), then go down, take the map and kill all the bats.
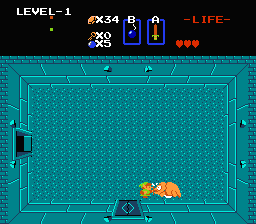
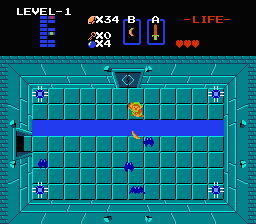
Then come back just above the start (A7) and make a hole on the right. Kill all the Keeses and push the left stone to take the secret passage leading to B2. There, kill the hands to get a key then go through the left door. Make a hole at the top without killing the blue Goriyas and go through this hole to reach the boss room.
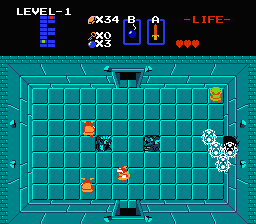
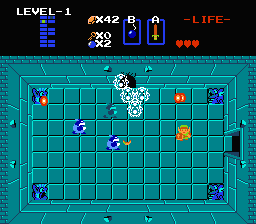
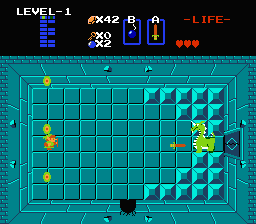
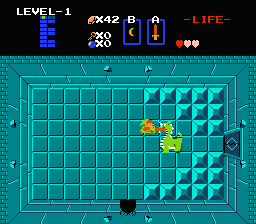
The boss is called Aquamentus, a kind of dragon unicorn. Killing it is easy — just stick close to it and hit its head until it dies. If you have full health, position yourself as in image 2 and keep shooting until Aquamentus drops its heart. The door opens; go right to collect the first piece of the Triforce.
Small Key : A7, B2
Dungeon Map : B5
Compass : A6
Bomb : A5
Wooden Boomerang : B8
 You are ready to continue the adventure. Here is a save file (an 8 KB .sav file).
Perfectdams translated by Claude
| Back to The Legend of Zelda homepage |
| Back to Nes home |
- Français -- العربية -- বাংলা -- Deutsch -- English -- Español -- हिंदी -- Italiano -- 日本語 -- 한국어 -- Português -- Русский -- 中文 -