Zelda 3 A Link to the Past Walkthrough on Super NES: Tower of Hera (3rd Pendant) (GBA, SNES, Super Nintendo)

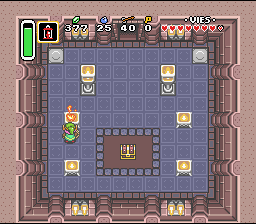
Hit the switch. Take the stairs on the left. Use the boomerang to get the key (1). Go back up and position yourself as in image 2 to activate the switch and open the chest. You will find the **palace map** (3). Open the door to the left of the chest and take the stairs.
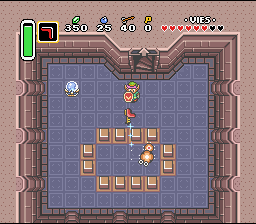
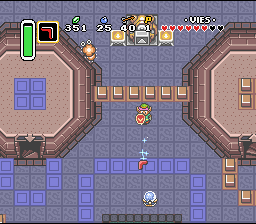
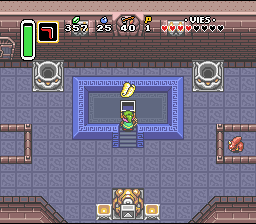
Kill all the tiles by standing in the upper right corner and letting your sword charge towards the left (1). The door opens, activate the switch and pass through the door. Activate the switch and take the bottom door. Light all the torches to make a chest appear (2). Open it to find the **Big Key**. Use your magic mirror to return to the entrance. Take the stairs on the right then the door on the left. Take the Big Key door at the top (be careful, the stars change the location of the holes that lead you to the floor below). Cross the room to the right and take the stairs. Go to the center of the room and open the chest to find the **compass** (3) then take the stairs to the left of the room.
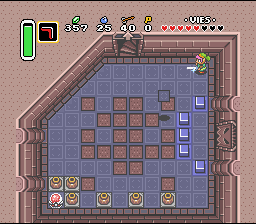
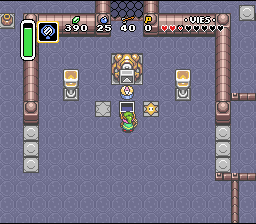
You can fall into the hole as in image 1 as many times as you want to stock up on fairies. Walk on the star and fall into the center hole of the room from the top (2). Open the large chest to obtain the moon pearl (3). Go back up to the next floor and take the stairs on the right.
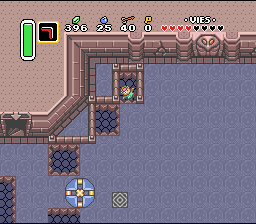
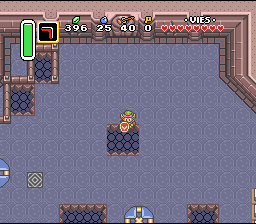
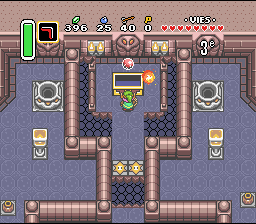
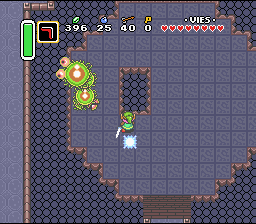
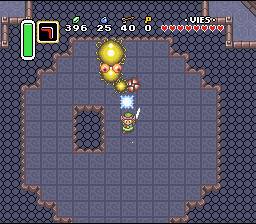
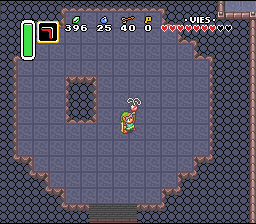
It's the Boss. To kill him, just hit his tail about ten times (less if you charge). Careful, if you fall into a hole, you'll have to start over from the beginning! If you charge, stand with your back to him if you want to strike him (faster) or face him if you want him to impale himself (easier and less risky).

| Back to The Legend of Zelda: A Link to the Past homepage |
| Back to Super Nes home |
- Français -- العربية -- বাংলা -- Deutsch -- English -- Español -- हिंदी -- Italiano -- 日本語 -- 한국어 -- Português -- Русский -- 中文 -