Zelda Ocarina Of Time Master Quest on N64 - Zelda's Return

save
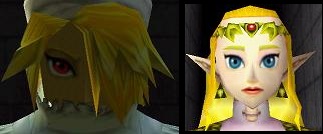
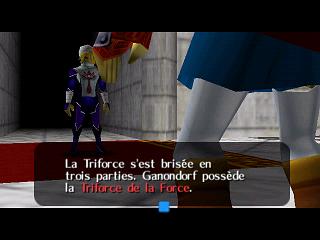
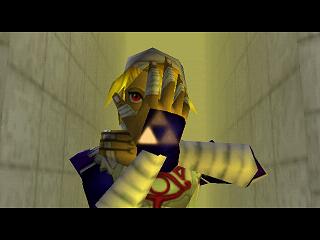
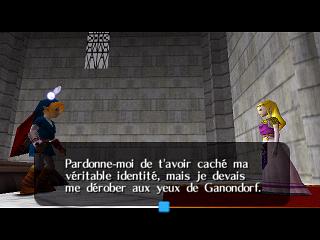
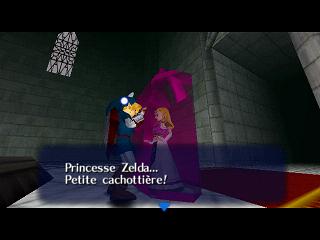
Teleport to the Temple of Time. You meet Sheik, who explains that you only have one battle left, the one against Ganondorf, the lord of evil. He also tells you the legend of the sacred triangles resting in a mystical place. The world will transform, according to the soul of the man finding these triangles, into paradise or chaos. The Triforce balances Power, Wisdom and Courage, and if the bearer preserves this balance, he will have absolute power, otherwise, he will only keep the part that corresponds to him the most and the 2 other parts will go to the chosen ones of destiny who will keep the mark of the Triforce on the back of their hand. This is what happened when you took the sword for the first time and Ganon took advantage of it to reach the Sacred Realm. Ganon possesses the Triforce of power and is searching for the holders of the 2 other parts. Sheik then shows you the symbol of wisdom on the back of his hand and reveals to you that you hold the one of courage. He then transforms into Zelda. She tells you that she disguised herself as a Sheikah for 7 years waiting for your awakening while Ganon was spreading desolation in Hyrule. Now, the plan is simple, the 6 sages will open the seal to lure Ganon into the Sacred Realm and you must protect Zelda so she can close the door forever. She gives you the Arrow of Light which will allow you to dispel the lord of evil. Ganon then arrives and captures Zelda in a pink crystal, thanking you for making her lower her guard. He takes Zelda to his castle where he awaits you to take the last fragment of the Triforce and thus dominate the world. Before going there, buy one or 2 blue potions just in case.
Ganon's Castle
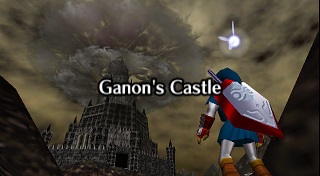
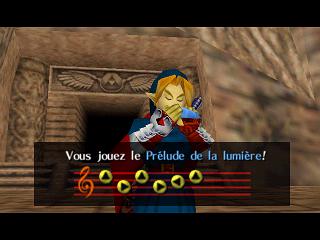
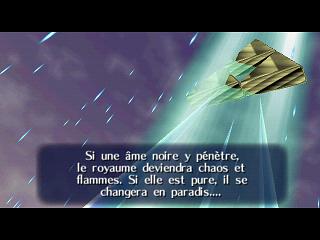
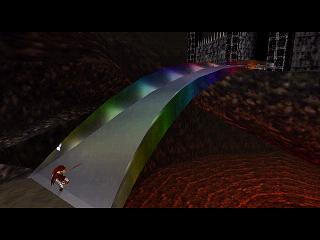
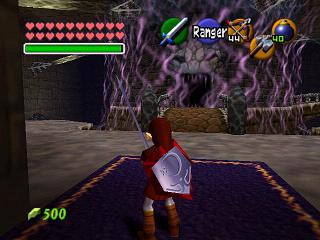
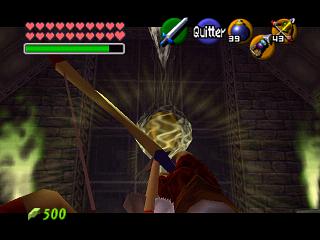
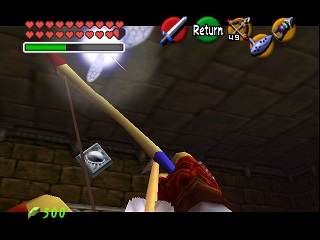
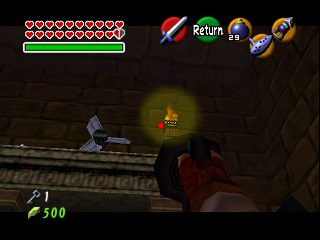
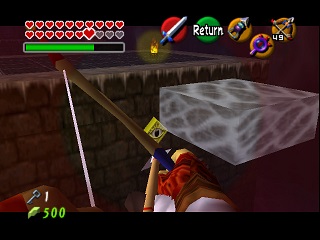
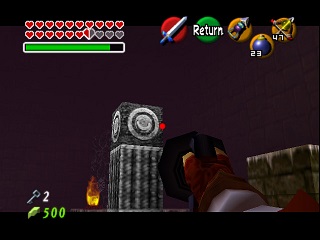
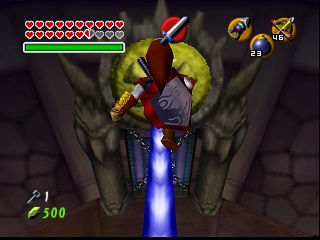
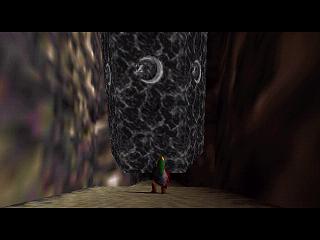
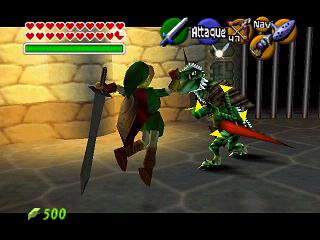
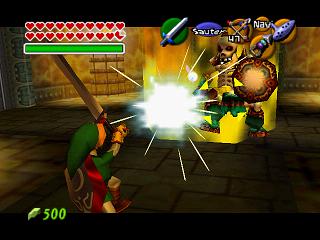
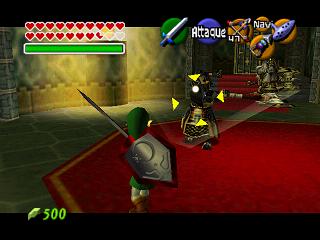
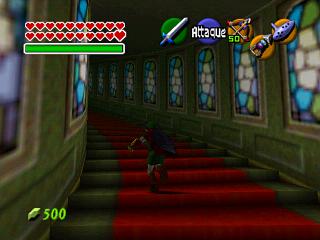
Head towards Ganon's castle and after picking up the skulltula on the broken bridge, approach the door so that Rauru creates a bridge with the help of the other sages (1). Cross this bridge to find yourself in Ganon's Castle. Go down the corridor and pass through the first door to arrive in the first room of the tower. This central room will lead you to the 7 parts of the castle (6 branches (forest, fire, water, spirit, shadow and light) and the tower itself leading to Ganon, inaccessible as long as the others have not been completed. To complete a part, you will need to shoot an arrow of light at an energy ball (as illustrated in image 3). In the rooms with balls, remember to break the pots if needed. You will often find bombs, arrows, magic there... Start with the Forest Temple, just to the left of the start, you will then take the doors one after the other (turning counterclockwise).
Ganon's Castle - Spirit
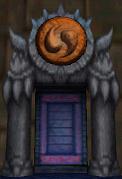
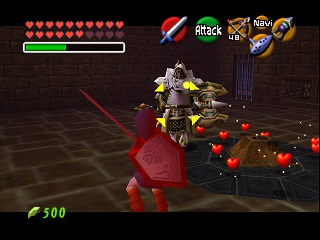
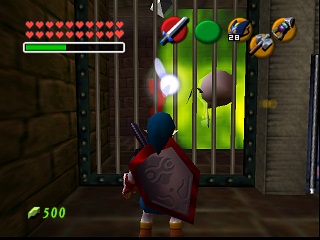
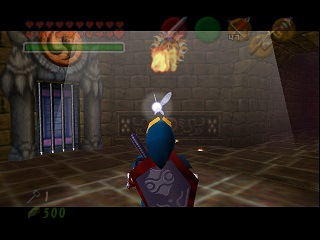
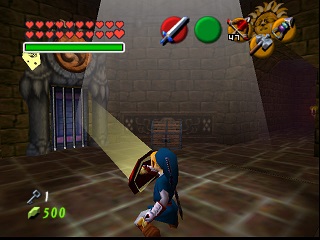
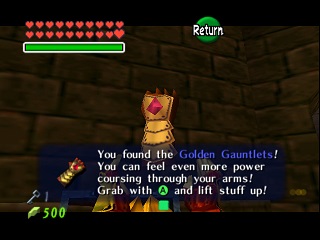
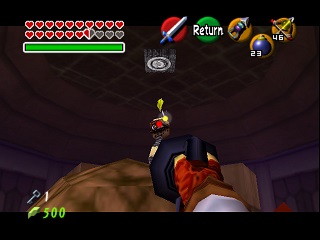
In the first room, start by eliminating the bats and the Fire Slug. Then, shoot an arrow at the eye above the entrance door. An Iron Knuckle appears. You will need to make him smash the rock pile in the middle of the room before killing him. Next, activate the switch with the hammer and go through the door. In the next room, first kill the Green Bubble using the hookshot. Then, turn towards the grating and stand perfectly perpendicular to the middle of it. You will need to launch a Bombchu so that it passes through the small opening and hits the switch on the ceiling. Then go through the door after replenishing your Bombchus from the chest. Kill the mummy and the ReDeads then use the Fire Arrow on the (very thick) spider web on the ceiling. Thanks to the mirror, light up the second sun to the left of the door to obtain a small key. Next, the first one on the right for the Golden Gauntlets. Finally, light up the "Spirit Medallion" above the door to unlock it and go through. Use the Light Arrow on the large sphere: Nabooru is free, the Spirit barrier is deactivated. If you wish, you can now go meet the Great Fairy of Courage who will make you twice as resistant. In my written walkthrough, I went there after deactivating all the barriers.
Ganon's Castle - Forest
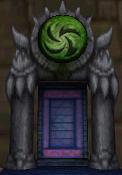
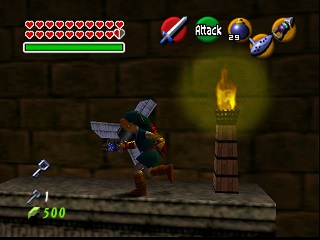
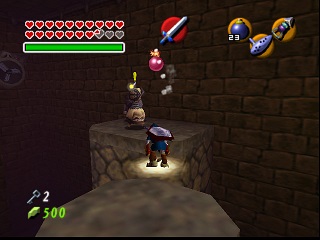
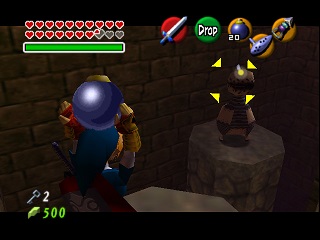
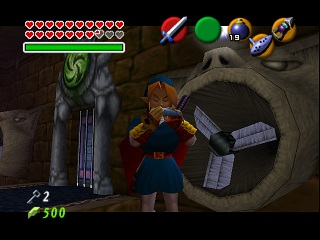
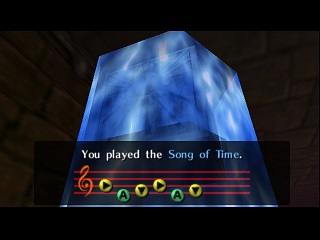
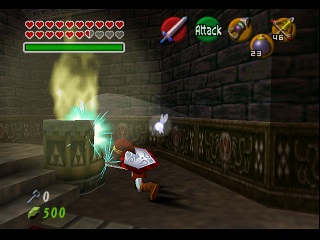
In the first room, defeat the Stalfos to open the door. Next, hookshot to the torch above the door. Pass in front of the fan when it stops blowing (or wear the Iron Boots) and take the small key. Go back down and pass through the door. In this room, put on the Hover Boots and throw bombs at all the Beamos to blow them all up and be at peace. Then go to the small platform to the right of the door when it's not blowing and immediately put on the Iron Boots. Then play the Song of Time twice. A statue will fall on the switch. Take off the Iron Boots when the fan isn't blowing to go through the door. Use the Light Arrow on the large sphere: Saria is free, the forest barrier is deactivated.
Ganon's Castle - Water
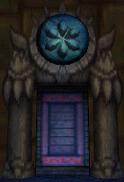
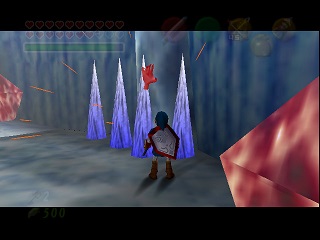
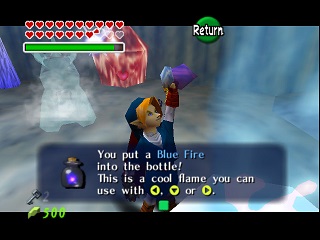
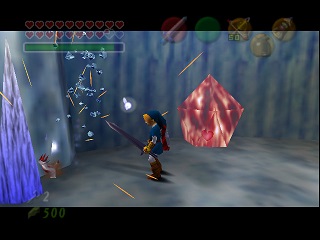
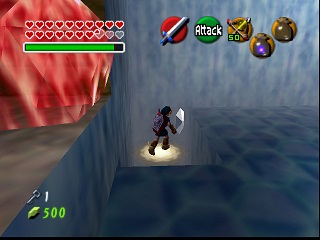
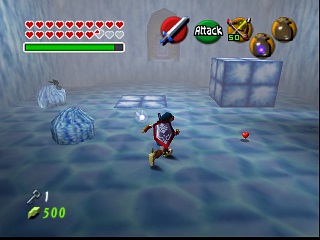
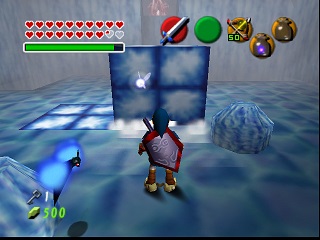
You arrive in an ice room. On your right, you notice a hand (Wallmaster type) on a stalactite. Kill it to release the Blue Fire in the middle of the room. Quickly go fill a bottle with this flame (time is limited). Then free the locked door by melting the red ice with the Blue Fire. To the right of the door, break the stalactites to find a hand. Go refill the Blue Fire again (try to have 2) and pass through the door. In this frozen room, you will need to collect the 5 silver rupees. Start by taking the first one in the small square hole. Then climb onto the block just to the left and take the silver rupee between the 2 blocks. Take the 3rd one in the recess right next to it. Then climb onto the block in front of the red ice barrier and melt it. Then push the block into the hole (for example to the right), collect the rupee above the hole using the Hover Boots. Push the remaining block near the locked door onto the small stalagmite that will stop it, then push it into the hole where you collected the first gem. Thanks to this, you can push the block onto the stalagmite just behind because it has created a perfectly flat "floor". Follow it and push it to the left, then "follow" it again and push it to the left. Then climb onto the block and go higher then melt the ice to obtain the 5th rupee. The door finally opens, go through it. Use the Light Arrow on the large sphere: Ruto is free, the water barrier is deactivated.
Ganon's Castle - Shadow
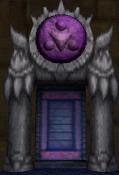
In the shadow part, start by killing the Green Bubble with the bow. Explode the bomb flower on the right to make a chest containing arrows appear on the left (accessible with the hookshot). You will need the Hover Boots and the Lens of Truth. Join the moving platform and the silver rupee on its path, then take the one on the bomb flower platform and return to the large moving platform. Access the large central platform and kill the Beamos with bombs. Collect the third gem hidden underneath and light the torch piece on the floor with a Fire Arrow. Cross using the translucent platform and kill the 2 Beamos. Reactivate the Lens. You will have to take the very narrow path on the left to kill the Beamos and recover the 4th crystal. Go back to the small path and on the platform where the 2 Beamos were, go next to the gray square on the floor (side of the beginning of the room) and shoot an arrow at the eye down on the large central platform. Take the small key from the chest then reactivate the Lens for the last dangerous crossing on the small path to the right. This time, there is a guillotine right in the middle. Aim well and you will find the fifth diamond and the door will open. Pass through the door. Use the Light Arrow on the large sphere: Impa is free, the shadow barrier is deactivated.
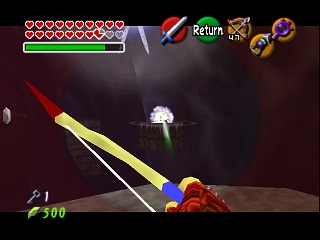
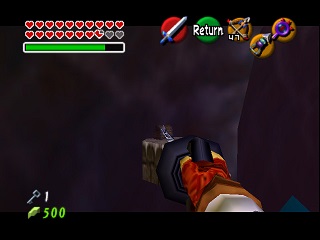
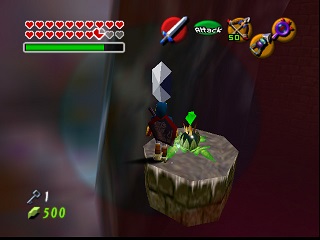
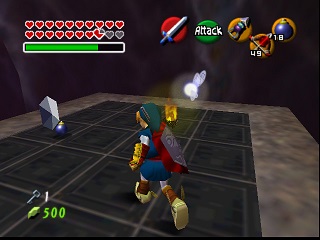
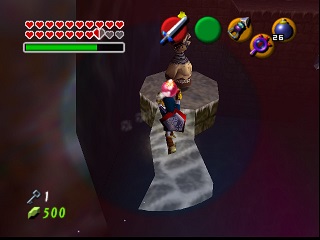
Ganon's Castle - Fire
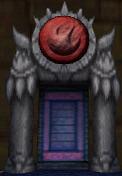
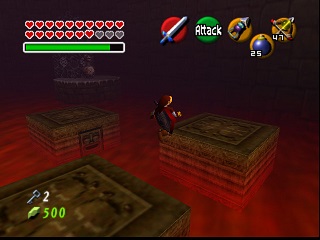
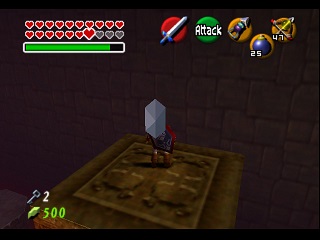
In the large room filled with lava, start by jumping onto the platform that passes from right to left. Then jump onto the next one then onto the next then onto the one on the right. The platform rises and you recover a silver rupee. From up there, try to jump onto the platform that moves back and forth. Kill the Beamos and lift the huge gray pillar (you must have found the Golden Gauntlets in the Spirit section). A second silver crystal is hidden underneath. Jump again onto the moving platform then the next one straight ahead then the following one (it goes up then down). Then use your hookshot to latch onto the target on your left. Climb onto the platform to find the 3rd silver rupee. Then jump onto the moving platform on your left and reach the 4th diamond then the platform with the big gray pillar. Lift it and Link will throw it into the corner at the back left of the room. Turn back and re-hook the target. Put on the Hover Boots to reach the platform that goes up. When it is at the top, run towards the fifth gem, you will fall back onto the big pillar. One last hookshot shot and you can pass through the door that just unlocked. Use the Light Arrow on the large sphere: Darunia is free, the fire barrier is deactivated.
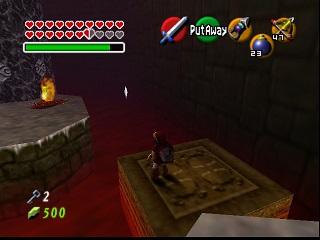
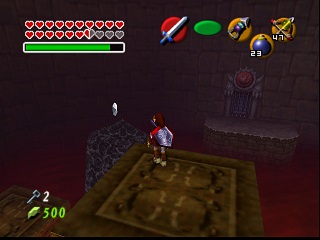
Ganon's Castle - Light
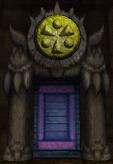
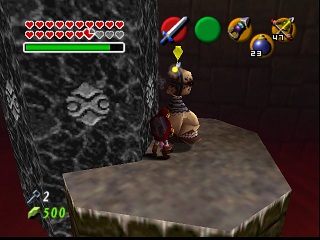
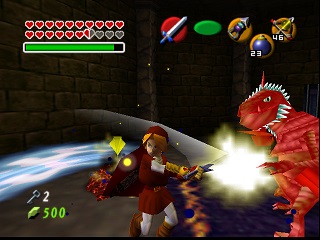
To find the light door, you must first remove the large gray pillar at the bottom of the stairs using the Golden Gauntlets found in the Spirit section (Orange). The first room is a fight against a Dinolfos and two Fire Slugs. The second room is just a locked door. In the third room, hook onto the ceiling and jump a bit further to open a locked door. If you followed my walkthrough, you have just enough. In the sphere room, there is a trap since it isn't there. In fact, the middle of the wall is fake as you can see with the Lens, but the passage is blocked. Hit the torch on the right, you can cross the wall. Use the Light Arrow on the large sphere: Rauru is free, the light barrier is deactivated.
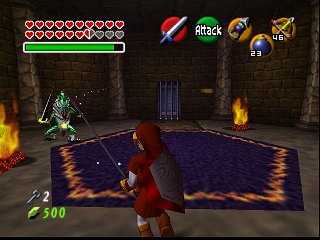
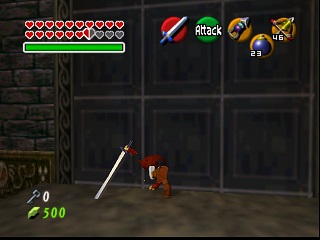
Ganon's Tower
Perfectdams translated by Claude
| Back to Zelda Ocarina Of Time Master Quest homepage |
| Back to Game Cube home |
- Français -- العربية -- বাংলা -- Deutsch -- English -- Español -- हिंदी -- Italiano -- 日本語 -- 한국어 -- Português -- Русский -- 中文 -