Zelda Ocarina Of Time on N64 - Dodongo's Cavern

save

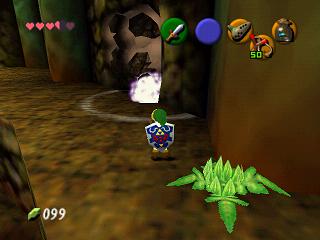
If you are not in the large room (above) at the start, pick up a Bomb Flower (to the left of the entrance) and blow it up against the wall facing the entrance. In this level, I advise you to equip the Hylian Shield when the other is not useful because the Deku Shield can burn (lava, fire bats,...) and you would then have to buy it back.
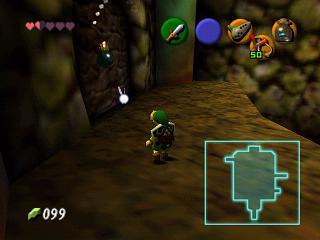
First go to the left of the room, passing through the center quickly so as not to get shot by the Sentinel's laser. These can be killed with an explosion (bomb or Bomb Flower). Eventually kill the Sentinel and blow up the nearby wall (1) to get the map of the cavern. The Bomb Flower you took can also be used to kill the Deku Scrub in the corner in case your shield has burned (it sells you one for 40 rupees). Then cross the room to go to the right side of it. There, kill the Sentinel and blow up the wall closest to the entrance (2). Cross the next room without necessarily killing the mini Dodongos (you can kill one near the stone wall, it will blow it up and you can go get a Gold Skulltula). At the end of this room, pull a statue onto the button to open the door (3) and take it.
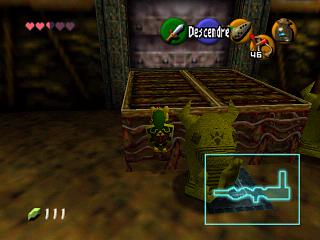
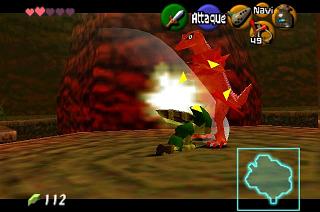
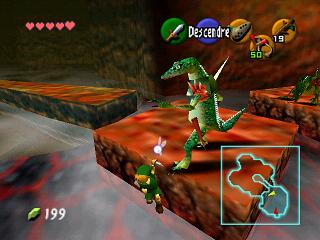
After crossing the corridor, you arrive in a large room with a closed door at the other end. To open it, you will have to defeat the 2 Lizalfos (1) who jump from platform to platform. These are fought with the sword or the slingshot. Don't hesitate to use Z-targeting. Take the door once the grate is raised. In the next room, you will see a wall to blow up behind which a Deku Scrub sells you a Deku Stick for 15 rupees. No need to go there if you still have some. Otherwise, this stick is mandatory. There are 3 Dodongos in this room. Throw Bomb Flowers at them if you want to kill them. If they swallow them, they will die on the first hit. You can also use the slingshot. Take a stick and light it on the first torch to light the 3 other torches in the room (2). The grate rises and you can return to the central room through this door. It's a small elevated corridor that leads you to the middle of the room, step on the button at the end of this corridor (3) (it will open a grate opposite) then jump into the room (be careful not to fall without having pressed, otherwise, you will have to go around again).
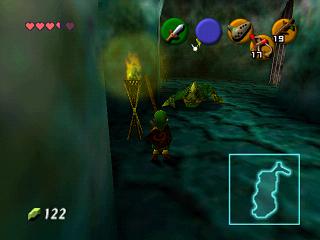
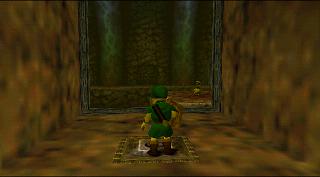
Now cross the central room and take the door that opened. You arrive in a room filled with Bomb Flowers arranged in a square and one Bomb Flower all alone. Take this isolated flower and throw it in the middle of the others, in the gap (1). The Bomb Flowers will all explode and make a staircase appear. Before using it, blow up the wall behind. In the statue room, take a Bomb Flower and throw it at the front statue which will wake up (you can also approach it). Then, take another bomb and blow up the statue again (2) then flee into a corner of the room because the statue bounces around a bit before exploding. Find the compass in the chest and exit the room. Go up the stairs and go around the room to take the door (first take the Gold Skulltula on the roots). In this room, kill the 2 fire keese and push the statue that blocks access to the ladder. Climb the ladder (3), step on the button and take the door that unlocked.
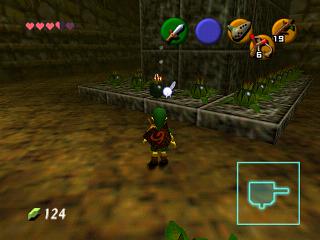
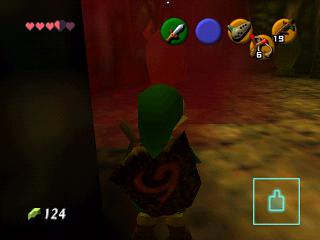
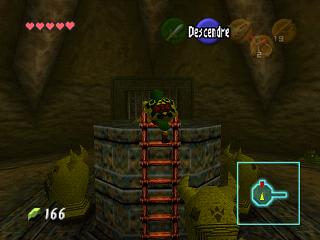
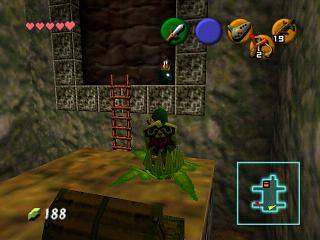
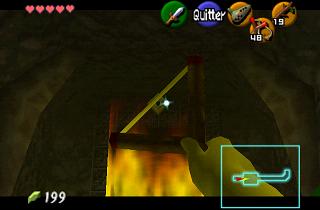
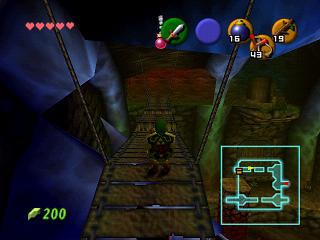
You find yourself once more in the large room but at the top this time. Cross the bridge, killing any keese if necessary. You still have to cross the next room while paying attention to the spikes (even if they don't hurt much). Take the ladder at the end and turn around to try to reach the platform with the chest (20 rupees). From there, try to throw the Bomb Flower onto the small piece of ground in front of the wall (1) to blow it up then cross the corridor. To pass the wall of flame, you need seeds; if you don't have any left, there are some at the back left of the room. To pass, simply fire a seed into the eye in front of you (2). Then cross the room then the corridor to arrive in a large room with 2 Lizalfos. This room is filled with lava that flows to the floor below where you had already defeated these lizards. Kill them once (3) more then pass through the door.
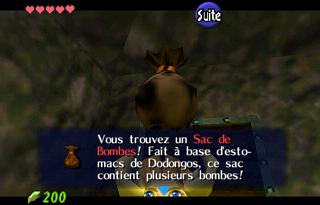
This room resembles the one that preceded the Lizalfos but don't worry, you haven't turned back. As in the previous room, you will have to aim at the eye with your seed launcher (1). Next, jump onto the platform where the fire has gone and deactivate the other fire wall by shooting the eye hidden in the recess of the left wall. Then cross the room before the wall reactivates. You find yourself in the room with the spikes. Jump over the hole (don't miss), open the large chest to find a Bomb Bag (2) then take the door. You find yourself in the central room. Step on the button (3) to activate the rise/fall of a platform that will act as an elevator between the 2 levels of the room.
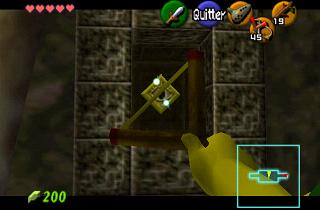
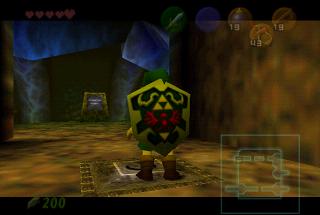
Now walk along the wall to the right to go onto the bridge and throw bombs into the holes in the bridge (1). To do this, you must throw at the top of the bridge's ascent. The bomb should fall into the eye of the giant Dodongo skull which will turn all red if it worked. You can also jump on its head and place bombs in its eyes. Do the same for the other eye and the mouth of the Dodongo skull will open and reveal a door (2). Go down and take this door. You arrive in a square room with a hole, go right and cross the corridor. Kill the keese then cross the room by climbing the blocks (if you blow up the wall of this room, there is a skulltula). Here you are again in the room with the hole. Push the big block in front of you so that it falls into the room. Then pull it to detach it from the wall then push it into the hole (3).
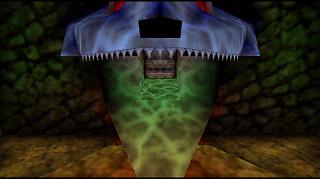
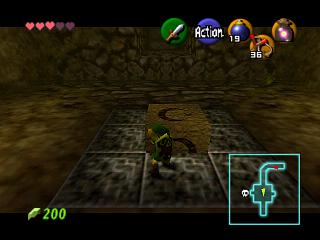
Dodongo's Cavern - Boss : King Dodongo, Infernal Dinosaur
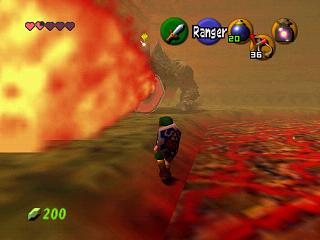
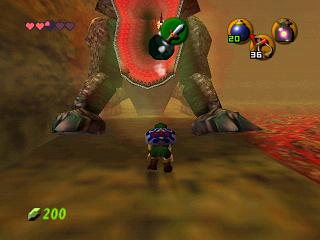
Here you are in the boss room. To face him, you must place a bomb in the center of the room and jump into the hole but before jumping, go and take the bombs from the chest. Here you are facing the boss: King Dodongo.
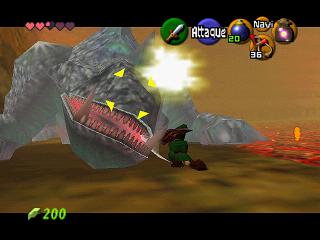
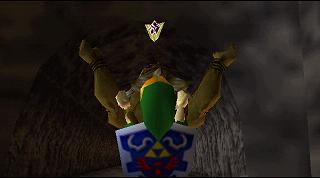
The Infernal Dinosaur (...) is a bit scary to look at but is fairly easy to defeat. He has two attacks (breathing fire and rolling) which are both avoided by sticking to the wall or walking along the lava. For the roll, the Hylian shield is the best defense. If Dodongo prepares to breathe fire, throw a bomb or a Bomb Flower into his mouth. He will collapse; during this time, take out your sword (B) and target him (Z). Then press A to perform the attack that hurts him. When Dodongo takes a hit, he regains his senses and curls into a ball (unless he is dead). Your Hylian shield will protect you.
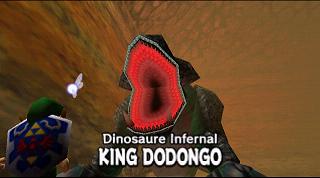
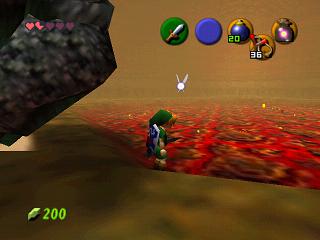
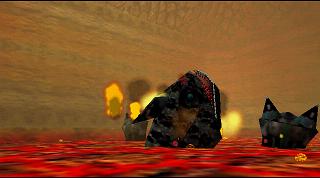
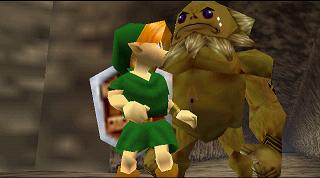
King Dodongo is defeated, you can take the heart he left behind then exit by going into the circle of light. The moment you come out, Darunia arrives and congratulates you; the Gorons will finally be able to eat their fill. The chief explains that it was surely Ganondorf who blocked the door because he offered the Gorons to free the entrance in exchange for the stone. He offers you to become blood brothers and gives you the Spiritual Stone of Fire (Goron's Ruby). The Gorons arrive to congratulate you and Link flees.

Perfectdams translated by Gemini
| Back to Zelda Ocarina Of Time homepage |
| Back to Game Cube home |
- Français -- العربية -- বাংলা -- Deutsch -- English -- Español -- हिंदी -- Italiano -- 日本語 -- 한국어 -- Português -- Русский -- 中文 -