 The legend of Zelda - Plan (carte) du niveau 2 de la quête 1 : La lune (Zelda I Nes mini)
 Soluce du palais "La lune" : donjon 2 de la quête 1 de Zelda I (The legend Of Zelda Nes mini)
Enlever / remettre les espaces entre les "cases" --- Plan du donjon en flash -- Plan du donjon en PNG
| A | B | C | D | |
| 1 | 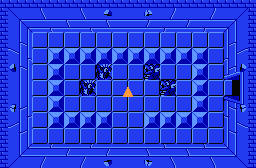 |
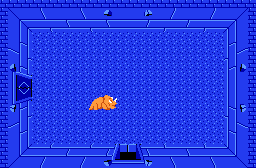 |
||
| 2 | 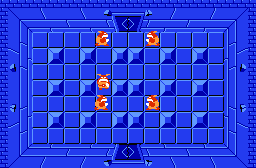 |
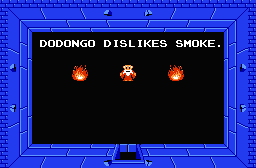 |
||
| 3 | 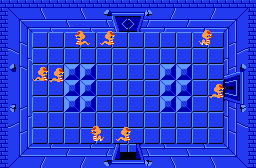 |
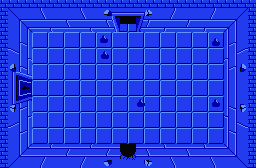 |
||
| 4 | 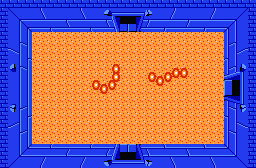 |
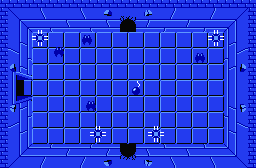 |
||
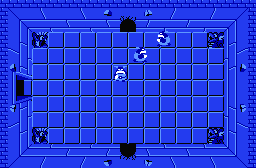
| 5 | 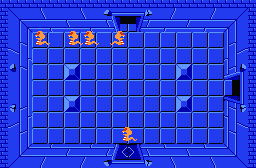 |
 |
||
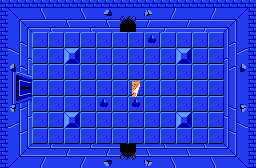
| 6 | 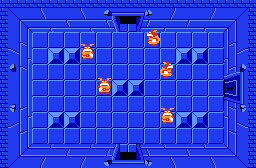 |
 |
||
| 7 |  |
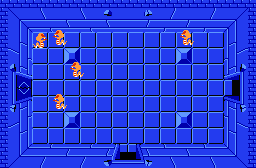 |
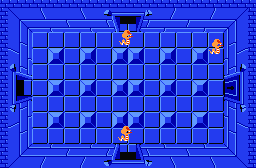 |
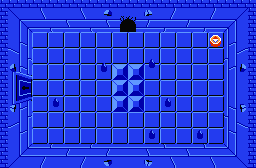 |
| 8 | 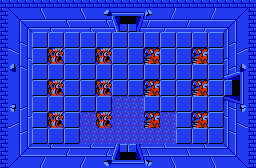 |
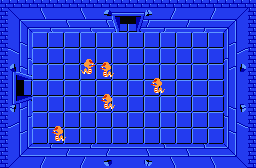 |
Clé : A7 - C8 - C5 - C4
Carte : D6
Boussole : D7
Bombes : D4
Boomerang Bleu : D5
| Back to Double Dragon II - The Revenge homepage |
| Back to Nes home |
- Français -- العربية -- বাংলা -- Deutsch -- English -- Español -- हिंदी -- Italiano -- 日本語 -- 한국어 -- Português -- Русский -- 中文 -