 Zelda 1 - Walkthrough of Dungeon 5 of Quest 2: The Z (Zelda I NES mini)
 Map of the labyrinth "The Z": Dungeon 5 of Quest 2 from Zelda I (The Legend Of Zelda NES mini)
This level is quite difficult but not very long. There is no point venturing in if you don't have a key in advance and the arrows (or 2 keys in advance if you don't have arrows). You can block the Wizzrobes' (ghosts') shots if you have the magic shield (beware however of Like Likes, who will eat your shield if they grab you for too long). This palace is very linear and most of the time, killing all the enemies simply opens the door you just came through.
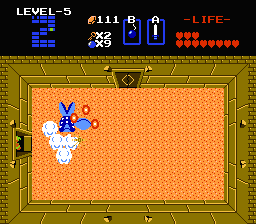
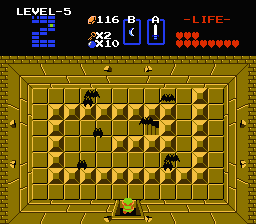
Go up, head left, go down and take the secret passage while avoiding the monsters along the way. You arrive in B1 where 5 blue Wizzrobes are waiting to be killed. Kill them and push the middle stone to the left to go right. Go down while avoiding Gohma and take the secret passage to find the bow. Go back up and kill Gohma by shooting 3 arrows into its eye when it opens, then collect the key that appears. Go back left and take the secret passage. Walk through the left wall and kill all the bats to get a key. Go back right and go up to reach the room with 4 Like Likes (B7).
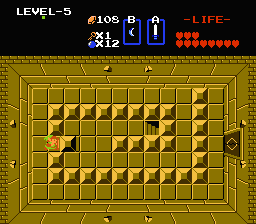
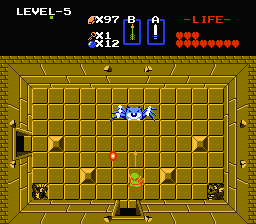
Go left and kill all the Vires to get the map (note: the Vire splits into 2 Keeses if you hit it with the white sword, but dies in 1 hit with the magic sword). Cross the next room without getting hit by the Wizzrobes, making sure you can attack when you exit (if you touch a red bubble, get touched by the blue bubble before leaving). Upon entering the room, quickly move right and up to avoid the spikes, then exit through the right door. Kill all the black Zols to get the compass, go up then head right without killing anyone.
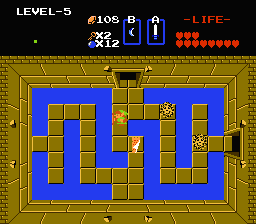
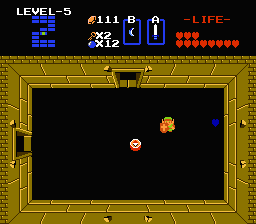
Use one or more bombs to easily defeat Manhandla and go up. Take the staircase while avoiding (or killing) the black Keeses. Head left and get ready to fight the boss.
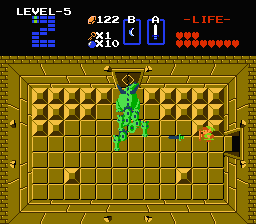
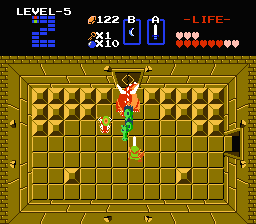
If you have full health, step out, shoot your sword beam and go back to hide in the doorway until it dies. Otherwise, you will have to fight by hitting the heads at close range and dodging the fireballs. Once the three-headed Gleeok is dead, go up and collect the fifth Triforce fragment.

Small Key : A8, C1
Dungeon Map : A7
Compass : B5
Bow : C2
 You are ready to continue the adventure. Here is a save file (an 8 KB .sav file).

Perfectdams translated by Claude
| Back to The Legend of Zelda homepage |
| Back to Nes home |
- Français -- العربية -- বাংলা -- Deutsch -- English -- Español -- हिंदी -- Italiano -- 日本語 -- 한국어 -- Português -- Русский -- 中文 -