Zelda Ocarina Of Time Master Quest on N64 - Inside Jabu-Jabu's Belly

save
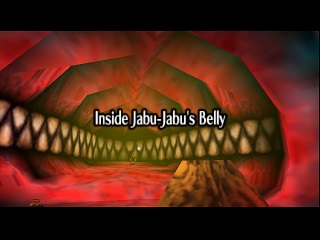
First, blow up the large stone in the middle and then walk on the switch it releases. A chest appears. Get the map inside. Shoot the slingshot at the cow head on the left when looking at the "door" to open it and go through this door.

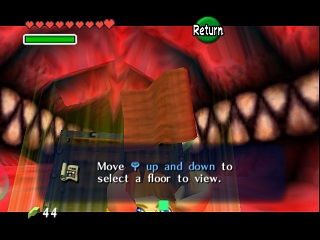

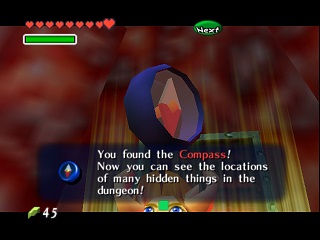
Jump onto the platform that goes down. At the bottom, you can open the small chest to collect Deku Nuts. From there, go to the edge to see a cow below in the water. Shoot this cow using the slingshot. Jump into the water and dive into the small submarine tunnel where the cow is. On the other side, you will find the compass. Before leaving, walk on the switch.



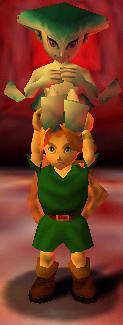
Go through the small submarine tunnel again and return to the small platform where the Deku Nut chest was. Finally, go back up on the platform to return to the room following the main room and take the North door. You meet Ruto, princess of the Zoras (the King's daughter). She tells you she doesn't need help and turns her back on you but falls into a kind of hole. Jump into this hole as well. Talk to her twice so she accepts to grant you the honor of carrying her.


Take Ruto on your shoulders and jump on the yellow button just below. Let the geyser carry you (you might need to eliminate enemies to do so). Jump on the platform with the blue button and leave Ruto on the button by placing her there to keep the door open. Jump on the yellow button again and once in the air, jump towards the door and go through.


Follow the hallway while eliminating the Lizalfos (I don't know if it's necessary) and jump into the water. You will need to eliminate all enemies in the room to make a chest appear. To do this, aim at the flying manta ray-like creatures and shoot them with the slingshot when they pass over you. For the "Like Like" (the shapeless sand worm-like creature), also prefer the boomerang because getting close is always dangerous. To get the chest, walk on the switch in the middle of the room to raise the water and climb the wall. There you will find the boomerang. Go back down, press the button, and exit through the South path. Before leaving the water, you can also collect a gold skulltula.


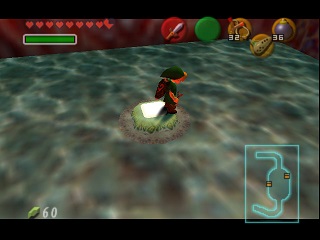
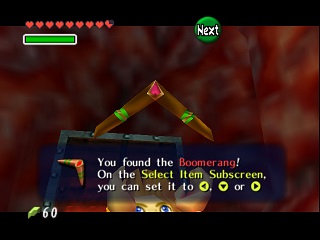

Follow the hallway and take the door. Wait for the elevator platform and get on. Once at the top, head North. In the room with the holes, immediately turn to the right and break the high rock with a Bombchu (if you don't have any, I think it's doable with a bomb but I haven't tested it). The rock explodes and the door opens. Go take it by calming the agitated red soft blob with the boomerang and then climbing on it.
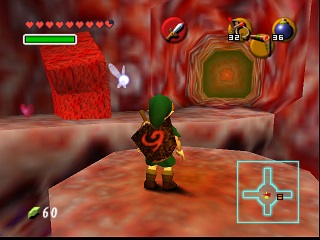

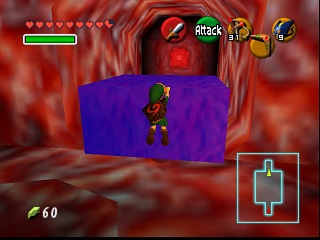
In the 3-branched hallway, start by taking the top right branch. In the room, you will have to fight two Like Likes; I recommend the boomerang. Once defeated, the door opens and the torch lights up. Ignite a Deku Stick and return to the hallway. Just to the left, burn the spider web and go through the door. You will have to fight a tentacle that is parasitizing Jabu-Jabu. To do this, use Z-targeting and throw the boomerang when the thin part of the tentacle is visible. After hitting it 4 times, the tentacle collapses and disappears.

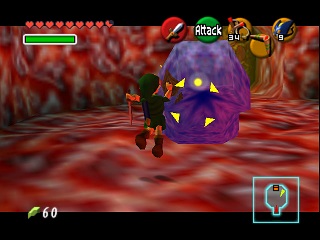


Go back into the hallway and take the second on the right (the central branch of the room: due North). Don't hesitate to kill the Lizalfos that will bother you later: a piece of cake with the boomerang. Then blow up the stones with a bomb and go back to the intersection. Just to the right, you can take a box to place it on the blue button that appeared behind the stones.
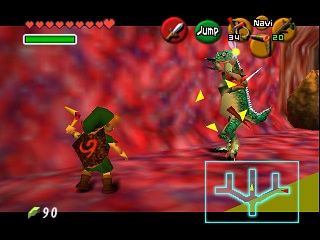


Take the door for a new fight against another tentacle that fights exactly the same way as the previous one. Go back out into the hallway and take the door due West (first on the right, at the end of the hallway). For the third time, you will have to fight a parasite tentacle. Defeat it.
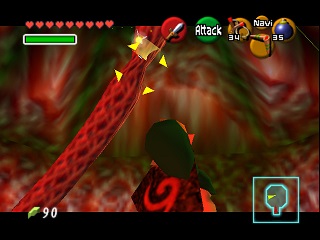


Return to the "trident" room and exit through the South door. Note that by following my walkthrough, you did not take the hallway at the top left. The room contains a gold skulltula. You arrive in the "holes" room. Jump into the left one, the one Ruto fell into. Normally, she should be waiting for you here. She will complain a bit but you can take her on your shoulders again. Jump with her on the yellow button to be carried by the geyser and jump to take the exit to the West. Note that the South West exit contains a gold skulltula.
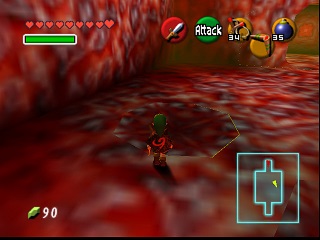
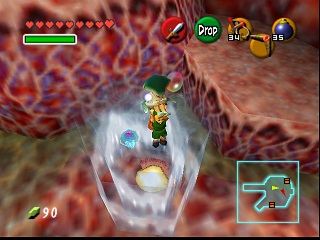



Once at the top, shoot another Deku Seed at a cow head to open the door and go through it. Take a box and place it not too far from the edge. Use the boomerang on the 2 red things and quickly take the box to jump from blue block to blue block and reach the other side. Place your box on the blue button and go through the door. In the next room, simply jump onto the platform that will go down, then take the door to the East. In the large next room, eliminate the 2 Like Likes then climb the "vines" (veins?) to reach the top of the room. From there, shoot the cow head three times. It will go up each time and the boss door will open. Before going down, kill the gold skulltula. Go take the door on the edge.


Inside Jabu-Jabu's Belly - Boss: Barinade, Bio-Electric Anemone
You are now facing the boss: Barinade, the bio-electric anemone. The fight is divided into 4 parts.
- The giant anemone is attached to the ceiling and you must aim at its tentacles with the boomerang.
- The anemone is on the ground, protected by blue jellyfish spinning very fast. Aim at it and throw the boomerang until you hit it. When you hit it, it turns blue and the little blue jellyfish are isolated. Take the opportunity to kill them with the boomerang while remembering to re-stun Barinade regularly.
- A second series of jellyfish will come to help Barinade, same technique.
- Barinade now has no one left to protect her. Send her a boomerang to be able to hit her and avoid her attacks when she sinks into the ground.
For steps 1 and 4 (and for the 2 others before having separated the anemone and the jellyfish), I advise you to always aim at Barinade and circle her while moving forward/backward if she rushes at you or moves away.


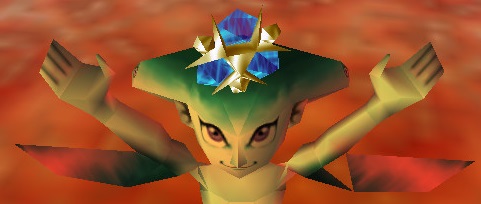
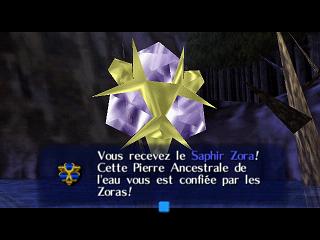
Barinade dies in horrible pain, take the heart and join Ruto in the circle of light. She thanks you and gives you the Spiritual Stone of Water (Zora's Sapphire), which is a Zora engagement ring.


Perfectdams translated by Gemini
| Back to Zelda Ocarina Of Time Master Quest homepage |
| Back to Game Cube home |
- Français -- العربية -- বাংলা -- Deutsch -- English -- Español -- हिंदी -- Italiano -- 日本語 -- 한국어 -- Português -- Русский -- 中文 -