Zelda Ocarina Of Time Master Quest : Gold Skulltulas in temples (dungeons)

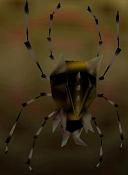

If you have found all the skulltulas in a dungeon, an icon  will appear next to its name in the map window to indicate it. Here are the 44 skulltulas you can find
in the dungeons of Hyrule. The other 56 are outside the temples, in the open world.
There are 43 skulltulas to find before growing up (32 of which are outside the dungeons).
There are 57 skulltulas to find after growing up (24 of which are outside the dungeons).
will appear next to its name in the map window to indicate it. Here are the 44 skulltulas you can find
in the dungeons of Hyrule. The other 56 are outside the temples, in the open world.
There are 43 skulltulas to find before growing up (32 of which are outside the dungeons).
There are 57 skulltulas to find after growing up (24 of which are outside the dungeons).
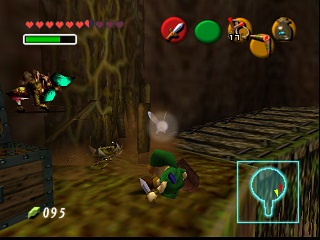
The Deku Tree (4)
- In a crate right next to the chest containing the map.
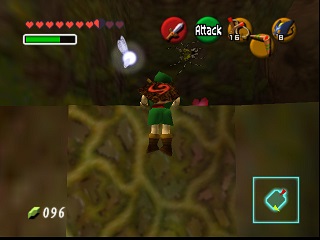
- In the compass room, you will need the slingshot (bombs might be enough). Climb the vines next to the chest containing the compass.
- In the room with the 4 bats on the 4 torches. You will need to play the Song of Time, climb onto the block and play it again to reach it.
- Just after the third one by burning the web protecting a door. Go through the door, it is in this small room, behind the giant carnivorous plant.
Dodongo's Cavern (5)
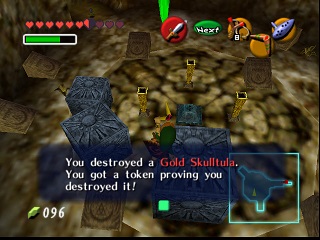
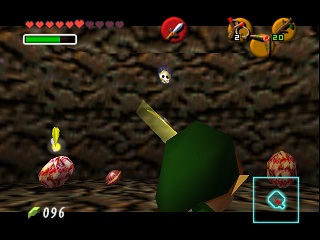
- In the room with the grand staircase, take the door at the bottom of the staircase. The skulltula is at the far left of the room (South-East). You will need to play the Song of Time 3 times to remove the blocks.
- After the second fight with the lizalfos (downstairs). When you take the door that opens, immediately go right into the corridor (requires boomerang).
- In the room with the 3 wall torches to light by jumping on moved blocks (see walkthrough). Take the North door. I recommend going to the middle and casting Din's Fire.
- In the room with the 1st fight with the lizalfos (upstairs), you will need to use bombs to blow up the rock barrier. The gold skulltula is waiting patiently behind it.
- After passing through the skull mouth in the central room, take the corridor on the right. In the middle of the room, you can reach the skulltula with the slingshot and recover the token with the boomerang. It may be easier in front of the door above the Armos.
Inside Jabu-Jabu's Belly (4)
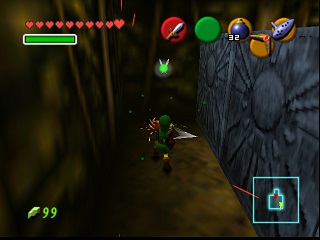
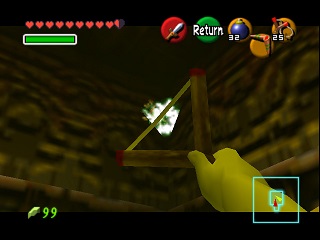
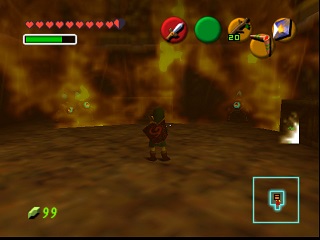
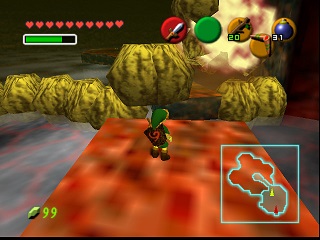
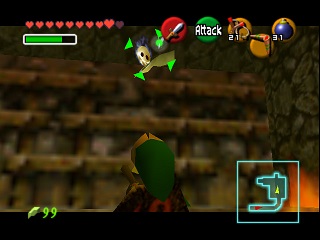
- In the room at the top left of the "trident" corridors, where you fight the parasites. You will need to place a slingshot seed to blow up a rock (and the skulltula). Then walk on the yellow button and grab the token with the boomerang (or play the Song of Time). It is best to watch the video as all this is hidden by JabuJabu's flesh and you are somewhat blind.
- In the room reached by falling through a "hole" (where Ruto falls the first time), take the South-West exit. The lens is more than recommended as you will need to kill keese (bats) hidden behind false walls. It is however possible to manage without it. Once all enemies in the room are defeated, you can cross thanks to a block that rises in the water. Din's Fire will let you pass through the spider web and recover the token.
- In the room before the boss, climb all the way up and stand at the edge on the skulltula's side. Cast Din's Fire to kill it easily, then use Z-targeting and the boomerang to recover the token.
- In the boomerang room, play the Song of Time to make the block disappear and free the gold skulltula.
The Forest Temple (5)
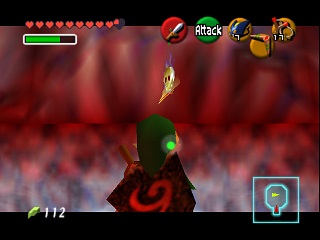
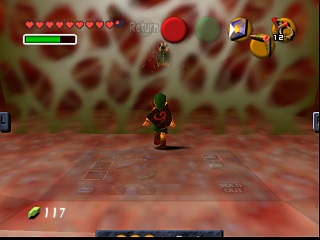
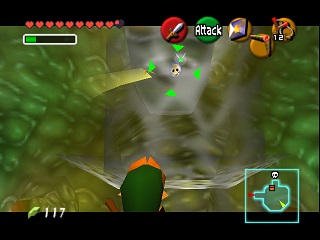
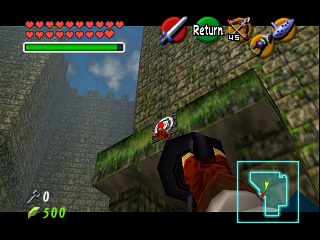
- In the first corridor, before even reaching the central hall. This skulltula is camouflaged behind vegetation above the door leading to the main hall.
- In the central room, take the West door and cross the corridor. It is immediately to the left in a nook.
- In the central room, take the North-East door (shoot an arrow into the eye if needed). Once in the garden, move forward a bit and turn around. It is just above the door.
- In the central room, take the North-West door. Once outside, go left and climb the vines just above the "well". The skulltula waits patiently.
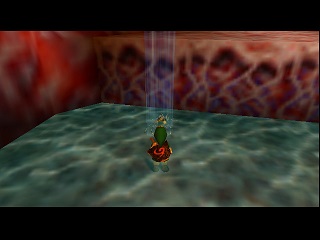
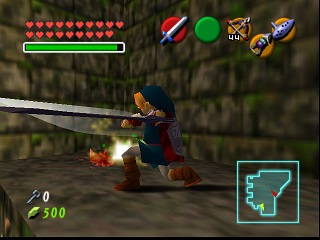
- Just below the fourth one by jumping into the well. It is on the grate in the side "river". If there is water, use your iron boots.
The Fire Temple (5)
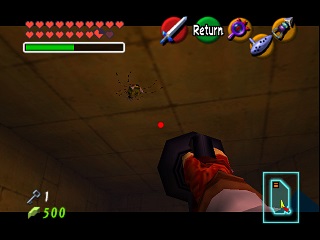
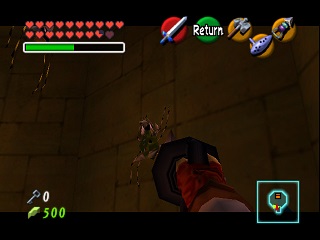
The skulltulas in this dungeon are hard to find and not really on the walkthrough path. I strongly recommend the video as I only put one image per skulltula and it may not be enough.
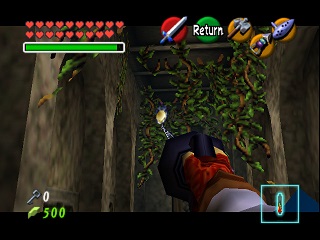
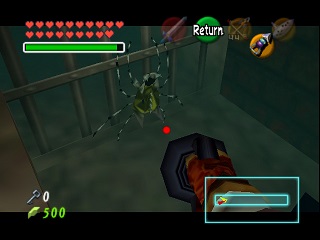
- Take the door at the top right of the hall (guarded by the statue). In the large room with the bridge, go into the cell at the far left when entering. It is at the back.
- In the somewhat maze-like room, when exiting through the high West door, grab the target to the left of the door (you may need to step back one platform to reach it). Then, with your back to you, grab the target still up high. It is a lift that will take you very high in the dungeon. You will need to use the hookshot on a head drawing in a square, then climb 2 grates and take a door. Then you need to go around the next room and activate a switch near the flames using the hammer. Reach the very top, jump on the button to make the flame disappear, then quickly pull the block that was in the flames with the hookshot. The skulltula is where the block was. Climb on it and eliminate it with the hookshot.
- In the room where you give a big hammer blow to drop a block down the floors and reach the boss door. Instead of striking, go straight ahead and open the door. Cross the flames with the hookshot and activate the switch with the hammer. Climb the "hookshot block" and jump between the flames then blow up the wall in the middle niche.
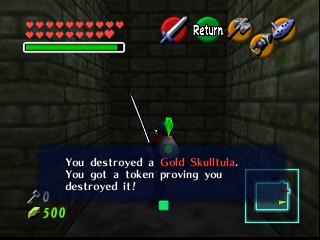
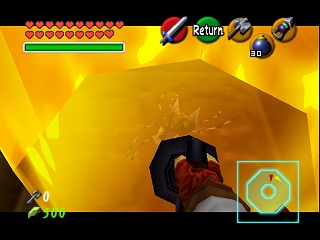
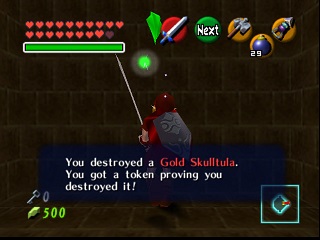
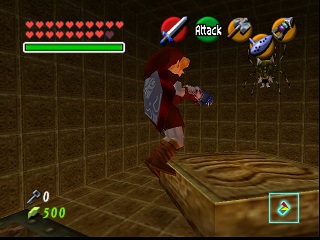
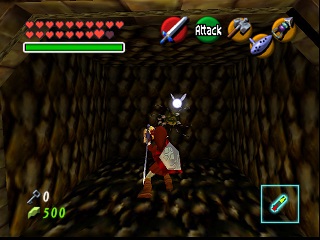
- Exit the room to the North and go around the flame walls on the left to activate the switch. Then turn back to take the North-West door (heading South-West). You will need to fight the mid-boss again, then climb onto the central platform and immediately step off to recover a key hidden underneath. Wait for it to come back to climb on it again. Take the door and climb the grate just to the right. Climb the other grate and unlock the door. In this round room, pass to the left of the spiral staircase-like structure and start going around. At the button, play the Scarecrow's Song and walk on the button. Quickly hook onto the scarecrow and go get the key in the chest. Then jump to the North. Give a hammer blow to the floor next to the switch to go down one floor. Unlock the door and, without necessarily fighting the stalfos, give another hammer blow to the floor to make stairs appear. In the middle of the stairs, use your hookshot on the face-shaped square and go through the unlocked door at the bottom. A gold skulltula awaits you :).
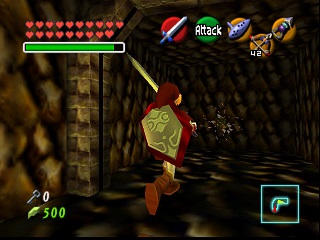
- Give another hammer blow on the block to descend into the inverted "C"-shaped room (3rd skulltula). Climb just in front of the door and play the Song of Time. Climb on the appeared block and jump diagonally forward-left to find yourself in the flame corridor leading to the North-East door. At the back, there is a skulltula.
The Ice Cavern (3)
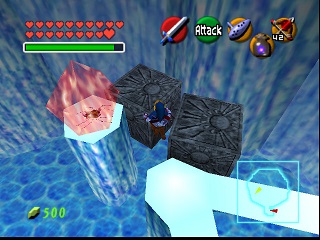
- In the room with the heart piece. Play the Song of Time at the base of the ice pillar on which the skulltula stands. Then go around to reach the block and thaw the ice.
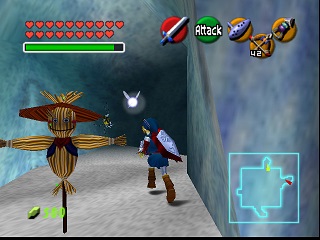
- In the large square room, play the Scarecrow's Song in front of the opening to the North. Then use the hookshot to hoist yourself up and recover the skulltula.
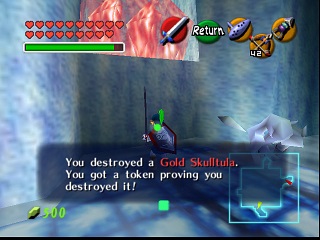
- In that same room, activate the switch just above the passage through which you enter the room. The ice block in front of the boss corridor (South) disappears. The skulltula is there.
The Water Temple (5)
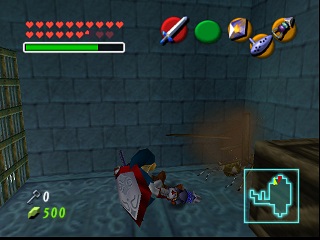
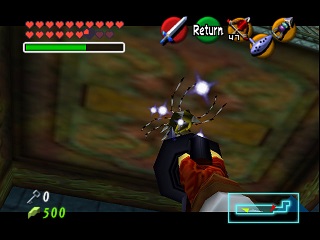
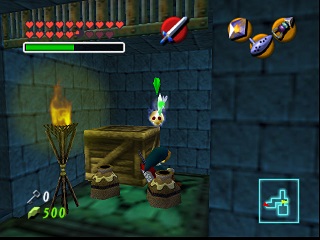
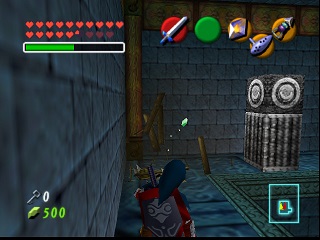
- In the underground river, at the level of the third hookable block. Aim upward toward the North-East with your hookshot.
- At the very bottom of the central room, take the North door with the iron boots. At the end of the corridor, put on the kokiri boots and cross the spikes using the hookshot. In the next room, go to the edge without falling in the water and play the Scarecrow's Song. Hook onto it and take the corridor going to the right. Activate the button, jump onto the second "geyser" and use Din's Fire. Finish crossing the room and light the last torch (possibly able to light all from the third geyser). Kill all the dodongos in the room (those below and those in the South-East corridor). Then use your hookshot on the ceiling and exit through the South door. Break the second crate on the right to find the skulltula.
- At the very bottom of the central room, take the South door with the water level at minimum. Follow the corridor then the underwater corridor and climb back onto dry land. Climb just above the target and turn around. Light the 3 torches at the top of the wall with your fire arrows. Turn around again and play the Scarecrow's Song. Grab it and go into the small room opened by the torches. The skulltula is on the ceiling.
- With the water level at mid-height, take the South surface door. At the end of the corridor, at the junction, use Din's Fire to kill the skulltula and open the grate.
- With the water level at mid-height, take the East surface door. Follow the corridor and use the hookshot on the wall then on the ceiling. Take a small crate and exit through the corridor. With the hover boots, cross to reach the central tower. Go around it to place the crate on the button. Take the door that just opened. Break the first crate on the left and activate the switch. Climb on the block and use the hookshot to go up one floor. The skulltula is in the crate just to your left.
The Well (3)
I assume you have all the keys. If not, check the well walkthrough.
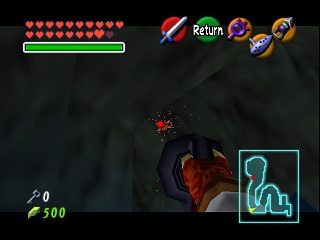
- In the central square room, take the North-West door. Pull the grave, it is underneath. Be careful as there are many invisible enemies in this room (use the lens).
- Exiting the room, go straight ahead and fall into the hole in the "small prison". It is at the end of the North-West corridor of the cave. Watch out for the Dead Hand and the invisible skulltulas.
- Take the Centre-West corridor. Pass under the small grate and open the locked door. It is at the far right of the room (North-West), behind the post of the bird statue.


The Shadow Temple (5)
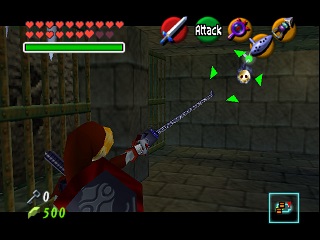
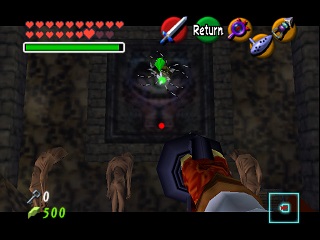
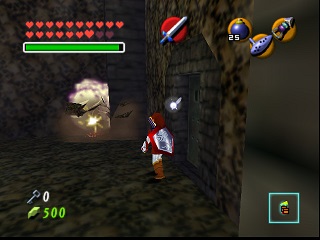
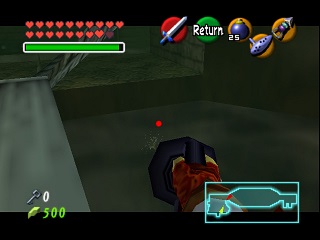
- In the hall with large spiked square blocks falling on you (at the end of the descent in the large room). It is behind the grate, block the first 2 blocks.
- In the hall at the end of the passage with 3 fans pushing you perpendicularly. No need to kill the Dead Hands, you can grab it from the entrance.
- In the room to the right when exiting the second skulltula (just before the boat, you need to be pushed by a fan). Use the bomb on the slope, it hides underneath.
- In the small river after the boat's arrival. In the middle of the bridge when coming from the boat, turn left and look down.
- Just before the boss door. Instead of opening the door, go to the right. The platform is narrow but you need to stop there to grab it with the hookshot.
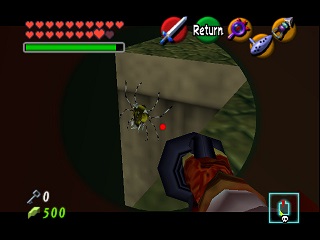
The Spirit Temple (child) (0)
The Spirit Temple contains no skulltula as a child. That said, as an adult, you need to press a floor switch that makes a chest appear containing a key that will let you recover a skulltula (or perhaps finish the dungeon — I'm not sure whether you can really open the skulltula door rather than another one, I haven't checked).
The Spirit Temple (adult) (5)
You will need 2 extra keys to reach the skulltulas. For the first, go into the room just to the right at the top of the small wall you climb in the main large room. Then activate the switch, go down and give a hammer blow to the big button. A chest appears — you need to be small to take it. For the second, it is in the last small room with the rotating mirrors; an invisible chest is in front of the grate, with the lens you will find it easily.
- At the spot where you play Zelda's Lullaby to open the door leading to the room with the large ceiling mirror and the lift that takes you down into the main central room, open the door. Normally you will have had to become small again to find the missing key. You need to wake the Iron Knuckle then go against the stone throne on the left (West). The Iron Knuckle must blow up the throne with an axe strike, and you can then recover the skulltula. Be careful not to kill it — the second one is in the same room.
- Same room, same method but on the back wall (North). You can now kill the Iron Knuckle.
- Go take the upper door at the South-West of the large room and cross the corridor with a staircase. To get there, you will need to do the block trick with the Song of Time using the crate done with child Link. To find the skulltula, you need to bring the grey block with the sun on it to the left just after the entrance under the sun. To do this, bring it in front of each fire barrier, activate the switch then move quickly before the fire comes back. Once under the sun, translucent platforms appear. Climb onto the nearest one with the hookshot. The skulltula is on an identical platform at the other end of the room.
- In the room adjacent to the Entrance Hall, the one with white rupees, take the North-West door. The skulltula is on the ceiling, you will get it with the hookshot. Play Zelda's Lullaby on the logo to exit.
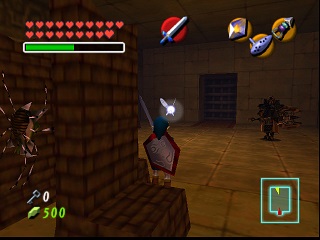
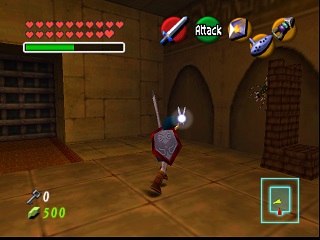
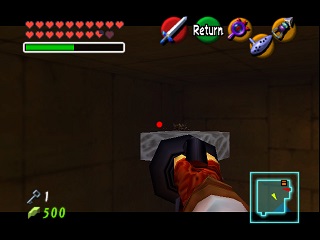
- In the room adjacent to the Entrance Hall, the one with white rupees, take the North-East door. You will need to play music in all the alcoves — a logo will indicate which song to play. I describe the alcove positions as if I were standing on the button. Strike the button with the hammer and enter the first opening on the right (the one that just opened). You notice a time block above the opening: play the Song of Time to open the alcove at the back on the left. To keep it simple, hug the wall and kill the giant with the hammer. You notice a cow logo above the opening. In the opening, play Epona's Song to open the first alcove on the left. You notice a sun drawing above the opening. In the opening, play the Sun's Song to open the last alcove on the right. You notice you need to play the Song of Storms, which will open the middle alcove on the left. Play Zelda's Lullaby and the door opens. The room is filled with Skulltulas. Among them is the gold one.
Perfectdams translated by Claude
| Back to Zelda Ocarina Of Time Master Quest homepage |
| Back to Game Cube home |
- Français -- العربية -- বাংলা -- Deutsch -- English -- Español -- हिंदी -- Italiano -- 日本語 -- 한국어 -- Português -- Русский -- 中文 -