Zelda Ocarina Of Time Master Quest on N64 - The Shadow Temple

save

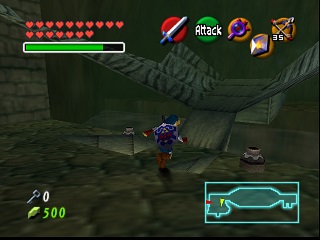
In this level, you will need to use the Lens of Truth very often to see appearing doors (1). Be careful to deactivate it when you no longer need it because it drains magic. This item distinguishes truth from falsehood and will be very useful even if it is not strictly indispensable since you can pass through fake walls without having looked at them with the monocle. In general, fake walls have a square image of a monster on them, but this is not always the case.
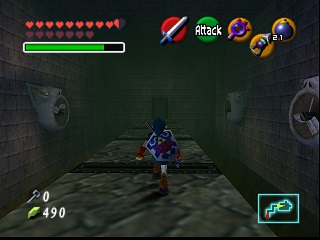
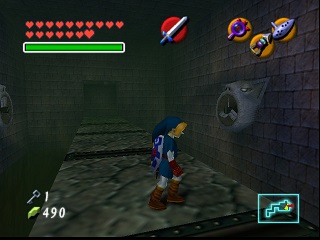
Go to the end of the corridor and use your Hookshot (grappin) to cross the hole. The wall at the end is fake, pass through it. Rotate the bird clockwise by pushing the base with the nails. Make it look at the second pole with the skull on top. The door behind you opens. With 2 Fire Arrows, light the 2 torches to create a platform. Jump to pass through the door and go down the corridor. In the room with the Beamos (sentinelle), go left (pass through the wall) and take the door.
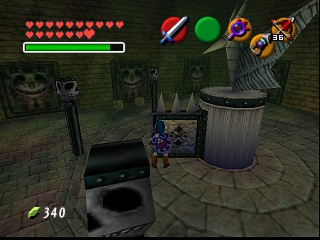
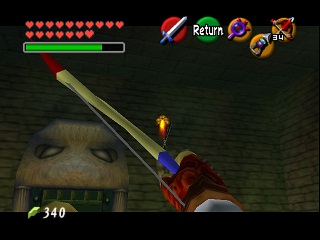
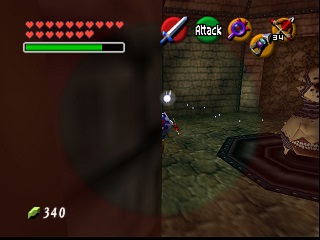
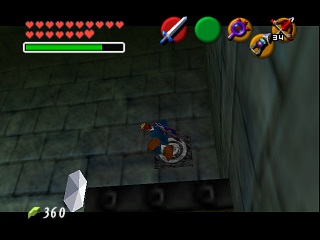
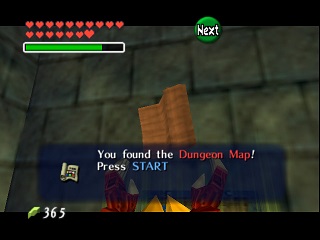
You arrive in a room with a statue spinning two long scythes. You can pass under them by crouching with the shield, rolling, or simply spinning at the same time. Manage to collect all the white rupees and kill all the enemies (the Hookshot is great against Skulltulas). By passing through one of the doors, you will find the Map. Leave the tiny room and walk along the right wall to take the next door. Go to the end of the small corridor to fall down one floor. Kill the invisible Skulltula and take the Small Key from the invisible chest right next to it. Go back up to the room with the scythe statues. Exit the way you came.
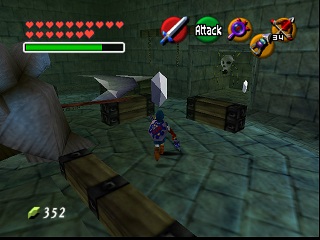
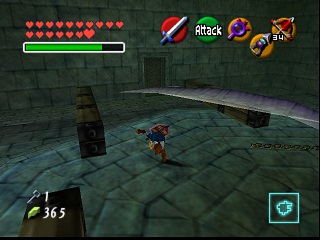
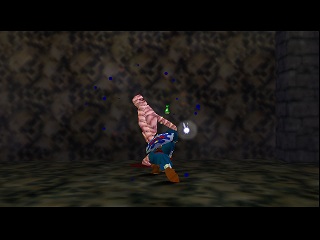
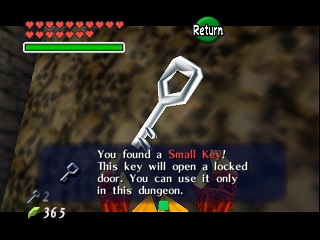
In the room with the Beamos, go straight ahead. Kill the 2 mummies (Gibdos), take the Small Key from the chest and exit. Take a left in front of the Beamos and take the upward corridor again.
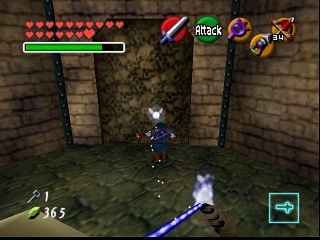
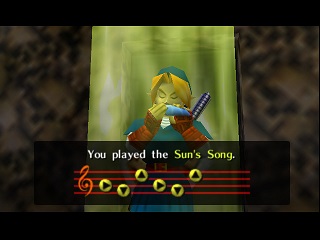
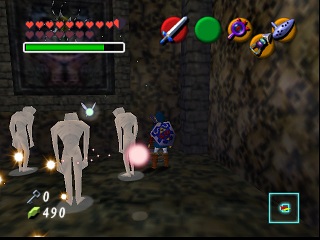
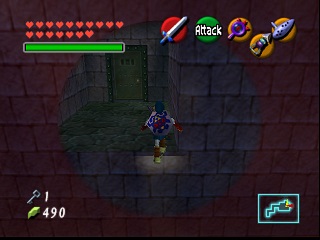
At the far right, use the monocle to see that you need to place a bomb to be able to pass through the wall. After the explosion, pass through the wall and unlock the door. Keep your monocle on to cross straight ahead then to the right and take the door. Eliminate all the "Redeads" after playing the Sun's Song for more simplicity and take the Compass from the chest.
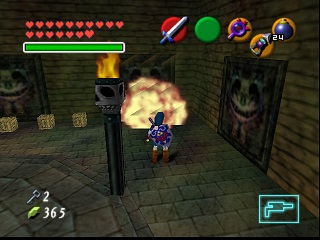
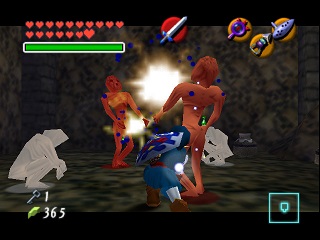
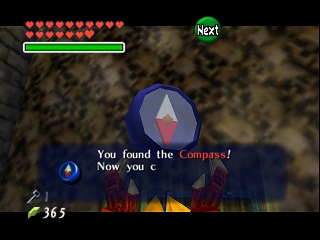
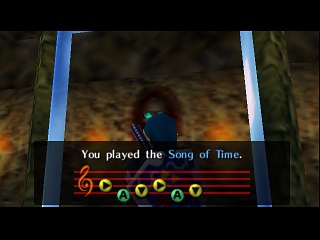
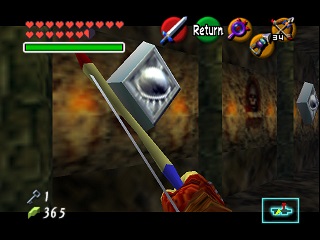
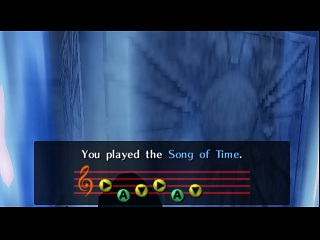
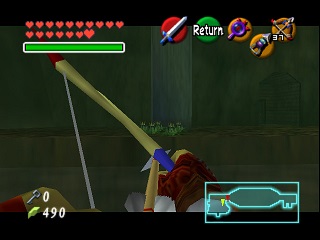
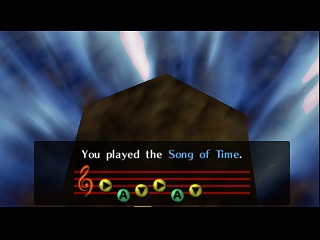
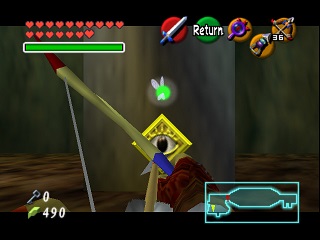
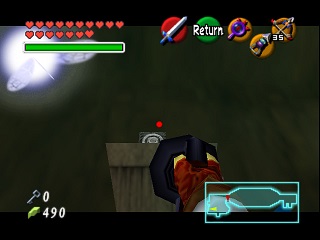
Exit, cross the wall and go to the middle of the right wall blocked by a Block of Time. Play the Song of Time and cross the next 2 walls. Use the bow on the eye in the middle of the left wall and go to the far right (relative to where you arrived) and take the West door.
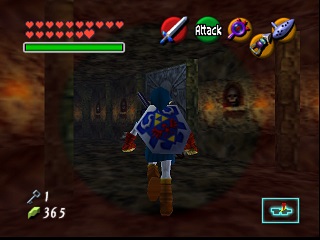
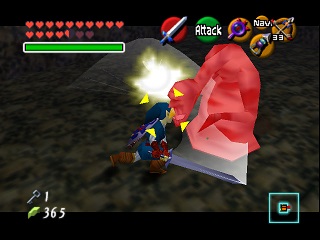
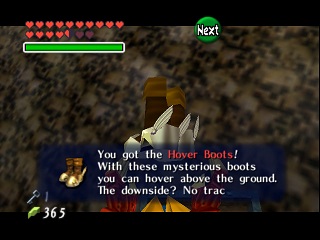
Beat Dead Hand to obtain the Hover Boots.
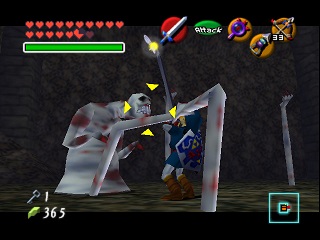
Exit the tangle of rooms with fake walls by always going opposite to where you arrive (look at the eyes glowing green on the wall drawings). In the first room of the dungeon (with the bird statue), take the door at the end and the downward corridor again. In the Beamos room, blow up the wall opposite and take the locked door. Go down the corridor without necessarily stopping for the Beamos and the Skulltula.
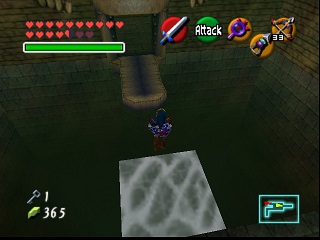
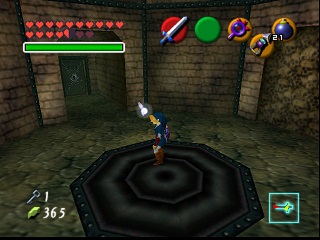
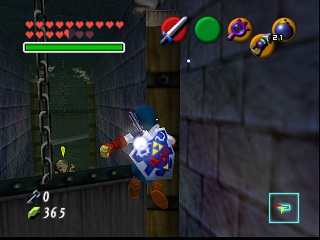
You arrive in a gigantic room (or rather, a cave). Cross straight ahead avoiding the guillotines and jump left onto the invisible platform at the level of the 2 Beamos (kill them if needed). Use the bow and Fire Arrow to shoot the eye and jump onto the platform in front of you then go to the end on the left and open the door.
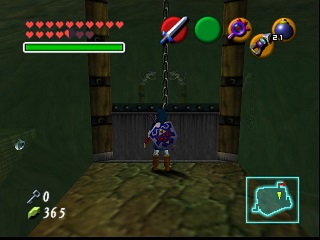
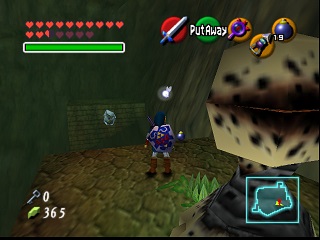
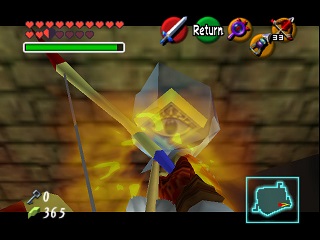
Follow the corridor and activate your monocle to see the danger. In the room, a large spinning statue with sharp blades is invisible. By spinning in its direction and keeping your distance, you should be able to collect all the white rupees, except for the one in the high corner for which you need to play the Song of Time. The small room opens, take the Small Key from the chest on the right.
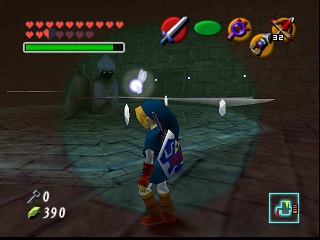
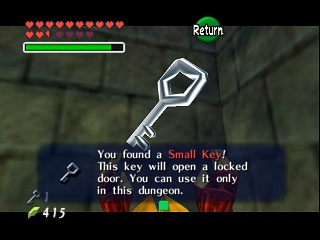
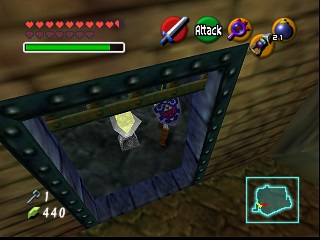
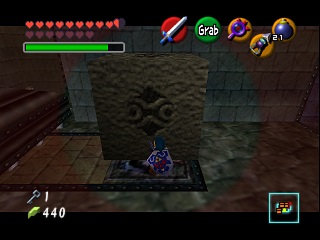
Return to the cave by taking the reverse path and go straight at the level of the Beamos. At the back, there is a grate with a switch behind it. Hit it with your sword and go through the door that opens. Once in the room with the large spiked blocks crushing the floor, activate your monocle. On the right, there is a block that you must pull to the limit on the ground. Then, push it toward the spikes so that they stop on it rather than on the ground. Push until the block is straddling under the 2 large spiked squares. You are now safe (and there is a Gold Skulltula behind the grate). Go around the block and pull it to the end. Climb onto it and jump to the left then change sides by passing over the spiked block to step on the button. A chest appears, go get it using the Hookshot. You recover a Small Key.
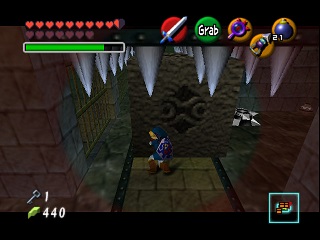
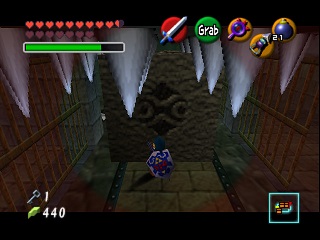
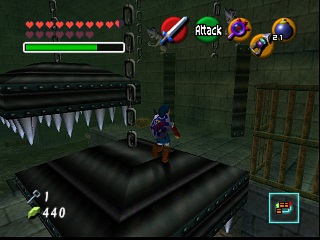
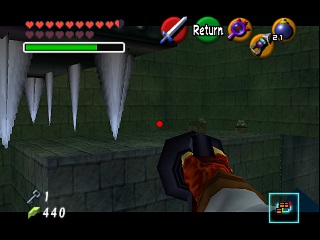
Exit back into the large cave. Head toward the 2 Beamos but turn left before climbing onto the translucent platforms. Pass under the guillotine and activate the monocle. A platform moves back and forth, jump onto it then put on your Hover Boots to reach the door, watch the timing, the boots slip a lot at the start!
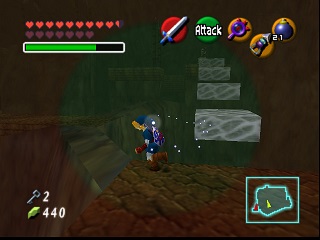
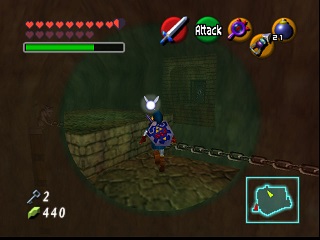
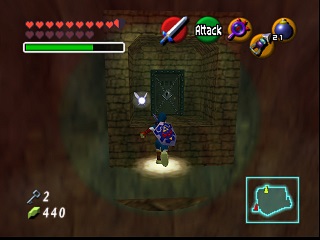
In the next room, the white rupees release the left door which contains 20 rupees, so go straight to the point by grabbing the target in the air in front of the opposite door (monocle) and unlock the door. To pass the corridor with fans, put on your Iron Boots (bottes de plomb) so they cannot push you back. Arriving at the big hole, you will nevertheless need to put on your Hover Boots. By holding Z to lock the camera, you can see the fan opposite. When it stops, rush straight ahead. Once on the other side, put your Iron Boots back on. These will allow you to cross the narrow strip of floor without problem while the fans blow perpendicularly. Take the door at the end.
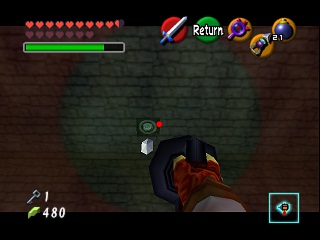
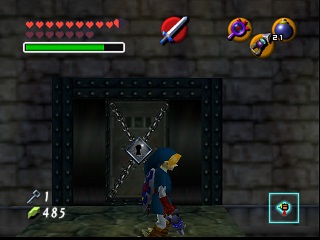
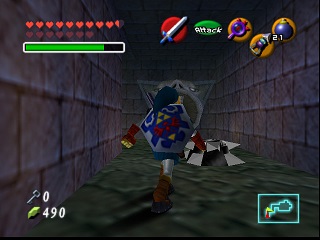
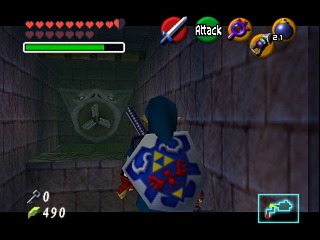
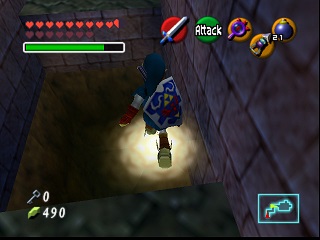
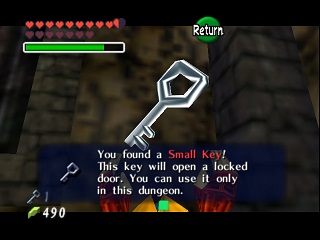
In the next room, play the Sun's Song to freeze the Redeads, quickly take the Small Key and the Gold Skulltula then exit back to the fan room.
Opposite the first fan, there is an invisible opening. You will need to put on your Hover Boots and have the fan blow on your back to glide a little longer. To do this, you can place yourself on the line when the fan is stopped and start when it begins to push you. Take the door. In the mummy room, take the Gold Skulltula and pass through the door. You arrive in a room even larger than the previous one, there's even a boat in this cave with an underground river! Go pull the block right to your left onto the gray strip. Then, pull it for a while then push it until it fits into the hole under the ladder.
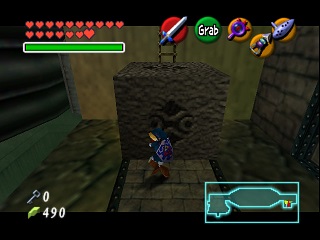
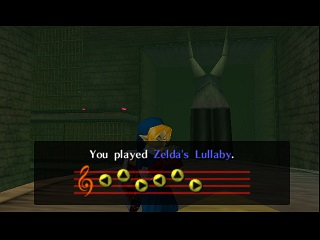
Climb the ladder then onto the boat and play Zelda's Lullaby on the Triforce logo to start it. After a "crossing" during which you will face two Stalfos, jump onto the shore on the left. Another small river blocks your path. Use your bow to shoot the bomb flowers (chou-péteur) on the other side of the shore. The bird statue will collapse, creating a perfect bridge :). On the bridge, you can obtain a Gold Skulltula. Follow the shore to the Block of Time and play the Song of Time to make it disappear. An eye appears on the column. Shoot an arrow at the eye and climb onto the Hookshot block that appears on your right. Use the Hookshot to reach a platform high up. Step on the button to open the door. The door being on the opposite shore, cross the "bird column" to take it.
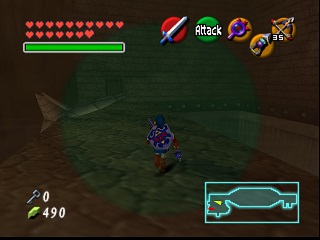
This room is small but there are many invisible walls, go take the West door. Three giant stone skulls spin in a circle in this room. Take the bomb flowers at the top of the room and throw them inside to explode them all. Go back down to recover the Small Key and the rupees then exit.
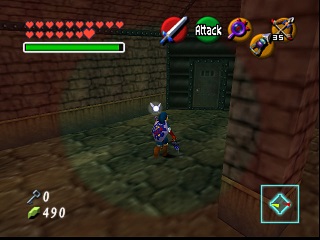
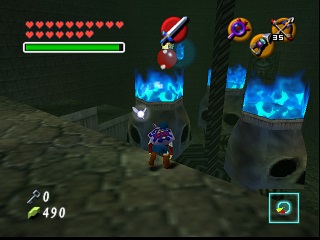
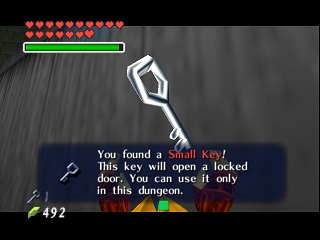
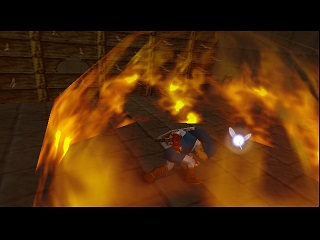
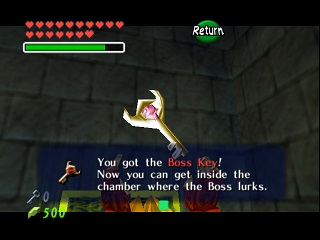
This time, take the North door with the freshly acquired key. Two spiked "walls" approach you. Fortunately, they are made of wood and a little "Din's Fire" will get you out of this tight spot. On the right, the gold and blue chest contains the Boss Key.
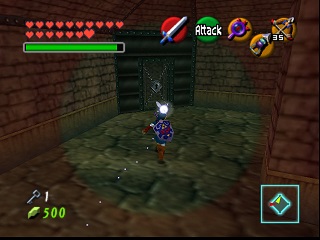
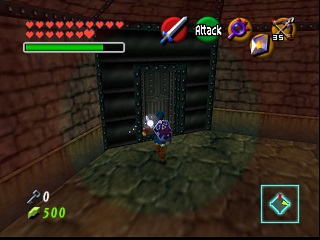
Exit from the 2 rooms (to the East for the second one) to find yourself back in the boat room. Cross the bird bridge and take the door a little to the right. To cross this room without trouble, put on your monocle and your Hover Boots. Also take the Gold Skulltula before passing the boss door.
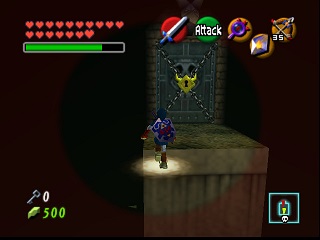
The Shadow Temple - Boss : Bongo Bongo, Phantom Shadow Beast
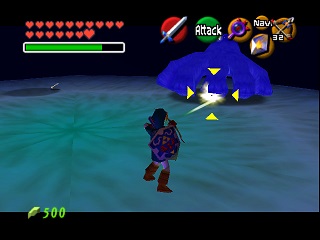
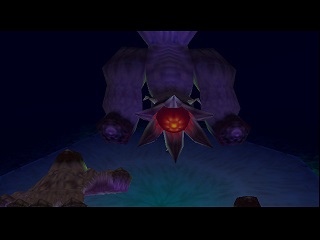
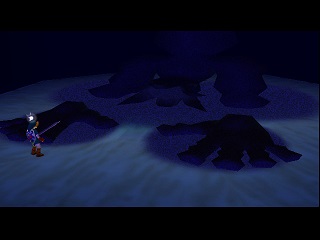
You arrive in a small room with a hole. Jump into it to land on a giant drum where the boss of the Shadow Temple plays: Bongo Bongo, Phantom Shadow Beast.
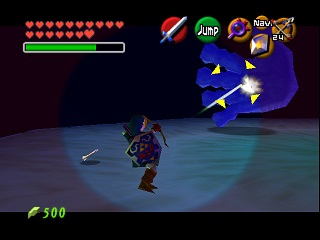
Beating him is quite simple, first block his 2 hands using your bow and Z-targeting. Then use your monocle to aim at the boss and send an arrow into his sensitive parts. The monster then collapses onto the drum. Take the opportunity to strike him with your sword (jump attack preferably) by getting very close to him. Bongo Bongo has 3 attacks in his arsenal:
- He attacks you fist forward, run to avoid it.
- He pulls back both hands to clap (he would be very good at Donkey Konga) and you must quickly move back or forward.
- He raises one hand and it is better to quickly shoot it before it catches you.
In any case, if you attack his hands quickly each time, you won't risk much.
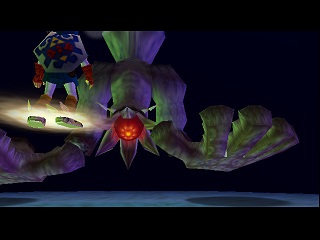
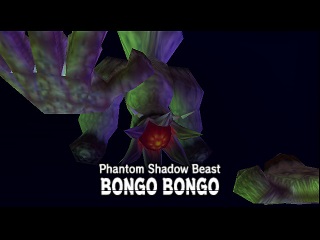
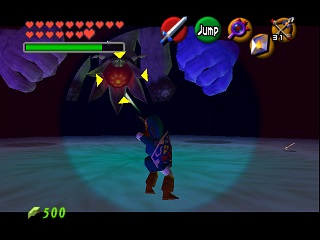
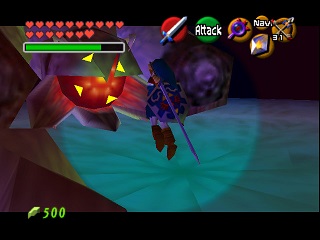
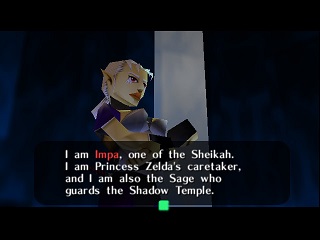
Bongo Bongo is defeated and faints in horrible suffering. After taking the heart, you teleport once more to the Chamber of Sages. Impa turns out to be the Sage of Shadow and explains to you that Ganon attacked Hyrule 7 years ago and that she managed to put Princess Zelda in a safe place. Now, Impa must stay at the sanctuary. She gives you the Shadow Medallion and tells you that you must protect Zelda who will find you soon and explain everything to you.

Perfectdams translated by Gemini
| Back to Zelda Ocarina Of Time Master Quest homepage |
| Back to Game Cube home |
- Français -- العربية -- বাংলা -- Deutsch -- English -- Español -- हिंदी -- Italiano -- 日本語 -- 한국어 -- Português -- Русский -- 中文 -