 Zelda 1 - Walkthrough of Dungeon 2 of Quest 2: The A (Zelda I NES mini)
 Map of the labyrinth "The A": Dungeon 2 of Quest 2 from Zelda I (The Legend Of Zelda NES mini)
There is a small novelty in this palace since one of the walls can be walked through by pressing into it. Otherwise the monsters are familiar and keys are plentiful. This should not cause you any trouble.
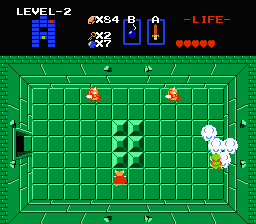
Go up and kill all the mummies to get a key. Go up again then head right to get the compass by killing the Darknuts.


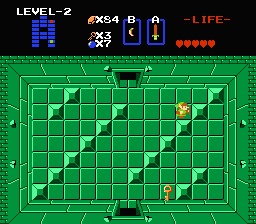
Go back left, go up, get the key by killing the bats if necessary, then go up again. Go up once more, killing or ignoring the mummies. In the Keese room, make a hole on the right to recover a key, then come back, kill them all and go up through the door that opens.
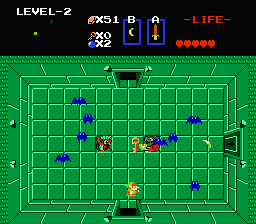
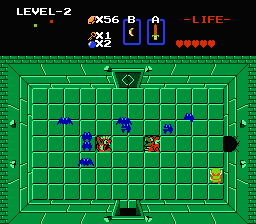
Kill Manhandla and collect the key, then go right. Go up without killing the Darknuts, then kill the Zols to get the map. Go down twice to find yourself in a corridor. You can walk through the bottom wall by holding the direction into it. In the room you arrive in, take the staircase to get the whistle (flute). Go back down to A6 (2 rooms above the start with 3 Zols) and head right.
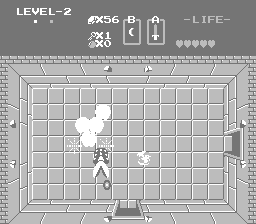
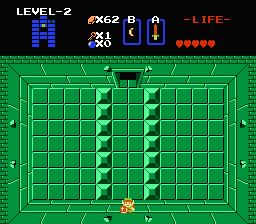
Avoid the Darknuts and make a hole on the right. Kill all the Keeses to get a key, then go down. Kill the 3 Zols to open the door and get a key. In the next room, take the staircase while avoiding the mummies who only give 5 rubies if you kill them. Also avoid the Darknuts (unless you need bombs) and go up to face the boss.
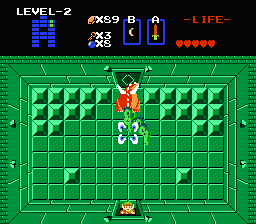
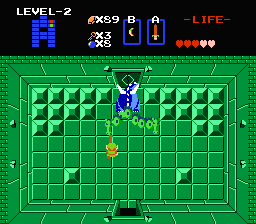
The boss is a 2-headed Gleeok, a large dragon with 2 heads. If you have full health, just step out of the door after a fireball has passed, shoot until it fires back. At that point, step slightly back into the doorway to hide. If you don't have full health, the task will be harder (especially if like me you ignored my own advice and arrive with the wooden sword). Try to dodge the Gleeok's fireballs and hit it on the heads during the brief pauses it gives you. Try to alternate between heads so the second one dies fairly soon after the first (because it flies off and becomes very annoying once you "kill" it). In the video, I have the wooden sword — I didn't follow all the instructions — but you will see the technique to use if you have full health.

Small Key : H7, A5, B3, A2, C6, C7
Dungeon Map : B1
Compass : B6
Recorder : B4
 You are ready to continue the adventure. Here is a save file (an 8 KB .sav file).

Perfectdams translated by Claude
| Back to The Legend of Zelda homepage |
| Back to Nes home |
- Français -- العربية -- বাংলা -- Deutsch -- English -- Español -- हिंदी -- Italiano -- 日本語 -- 한국어 -- Português -- Русский -- 中文 -