Zelda 3 A Link to the Past Walkthrough on Super NES: Desert Palace (2nd Pendant) (GBA, SNES, Super Nintendo)

You must go up while avoiding the shots from the enemy in the middle by passing left or right and enter the large middle room through one of the 2 doors. You will find the palace map (1) in a chest that appears by pressing a button hidden under a pot. Exit and go left to reach the top room. Run and hit the pole to get the key (2). Exit again and go all the way to the right, go down and take the locked door. Open the chest to find the compass (3). Take the top door and cross the room avoiding the balls. Open the chest to find the big key.
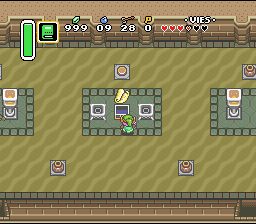
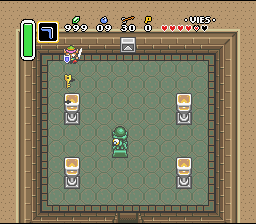
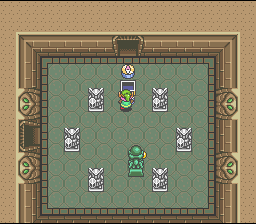
Exit to the left of the compass room, go back up and cross the level to the left. Take the left door, lift the pots to find the button that opens the doors (1). Go through the door and open the big chest: you get the power glove (2). Exit, go down and take the left door. You can open the top door by pushing the 3rd block from the left (3). It's a room with fairies. In the statue room, take the bottom door, you find yourself outside. Go down without falling to find 1/4 heart.
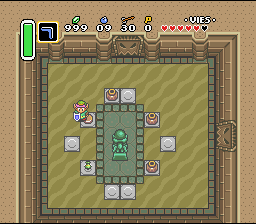
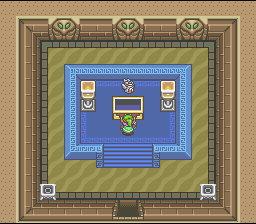
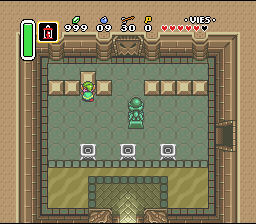
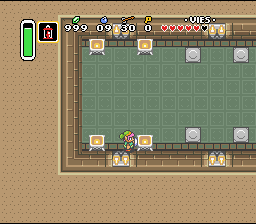
Go back up, go behind the door and lift a stone to enter the cave. Avoid the laser and push the middle block to the right (1). Go up and avoid the tiles by positioning yourself as in image 2. Lift the pots to find the key. Take the door and cross the bridge. Kill all the monsters in the room by avoiding the lasers and take the right door. Cross the room to the top avoiding the lasers and lift the pots under the door to find the key. Take the door and avoid the tiles as before, find the key under a pot and take the door. Kill the red enemy with your arrows and light all the lights with the lantern (3). The wall moves, take the Boss door.
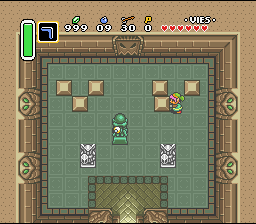
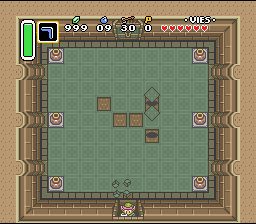
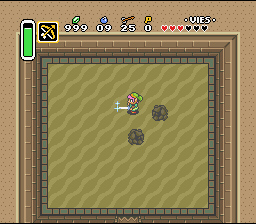
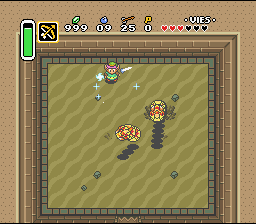
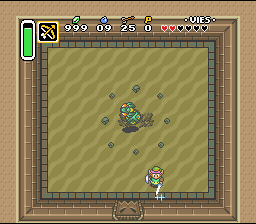
To kill the boss which consists of 3 sand worms, you must charge your sword by placing yourself anywhere except diagonally relative to the dirt mounds (the worm shoots rocks) (1). When the worm comes out, release the charge (2). When only one is left, be careful because its attack goes in 8 directions instead of 4 (3). So avoid its attack and hit it like the others. You get a new heart as well as a pendant.

Perfectdams translated by Gemini
| Back to The Legend of Zelda: A Link to the Past homepage |
| Back to Super Nes home |
- Français -- العربية -- বাংলা -- Deutsch -- English -- Español -- हिंदी -- Italiano -- 日本語 -- 한국어 -- Português -- Русский -- 中文 -