 Zelda 1 - Items in Quest 1 of The Legend of Zelda (Zelda I NES Mini)
 Overworld Map of Quest 1 from The Legend Of Zelda
Overworld Items (Quest 1)
(View Map)

 |
Magical Shield | Small Key | Blue Candle | Enemy Bait | Heart | Bomb | Wooden Arrow | Blue Ring |
 C2 C2 |
90 | 100 | 10 | |||||
 E4 E4 |
80 | 60 | 250 | |||||
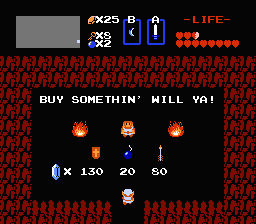
| E5 | 130 | 20 | 80 | |||||
| F3 | 130 | 20 | 80 | |||||
| G3 |
90 | 100 | 10 | |||||
 G5 G5 |
90 | 100 | 10 | |||||
| G7 | 160 | 100 | 60 | |||||
| K5 | 130 | 20 | 80 | |||||
| M1 | 160 | 100 | 60 | |||||
| N5 |
90 | 100 | 10 | |||||
| O6 | 160 | 100 | 60 | |||||
| P7 | 130 | 20 | 80 |

Wooden Sword
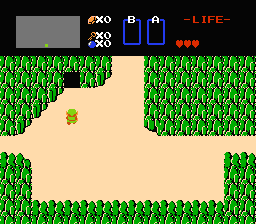
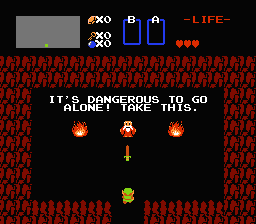
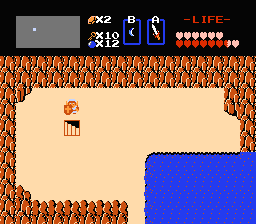
Don't forget this sword. It is located at the start of the game (at H8) and is given to you by an old man.
Blue Candle
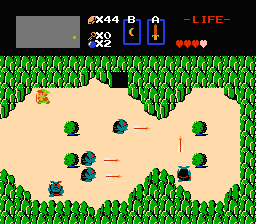
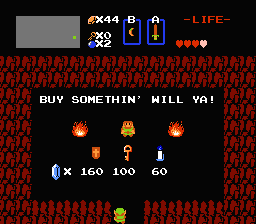
For burning trees in the overworld or lighting rooms in the underworld. I recommend getting it at O6 for 60 rupees when leaving Dungeon 2. It is sold for the same price at G7 and M1.

Magical Shield
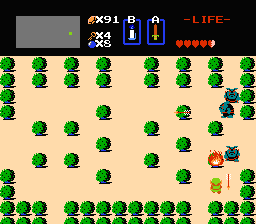
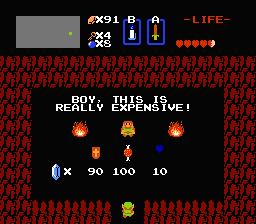
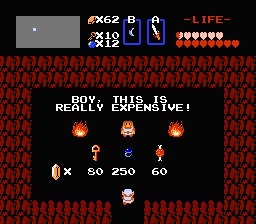
To block fireballs and other projectiles that the small shield cannot stop. I recommend getting it at N5 for 90 rupees after picking up the blue candle (a tree must be burned). It is sold for the same price at C2, G3, and G5. Don't get ripped off as almost all other shops sell it, and the price can reach 160 rupees.

Letter
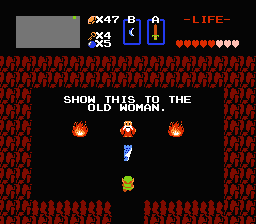
This Letter allows you to buy blue or red potions in specialty shops. An old man gives it to you at O1.

Power Bracelet
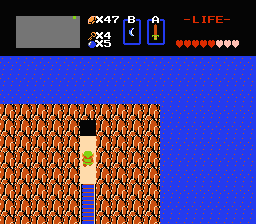
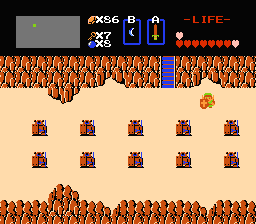
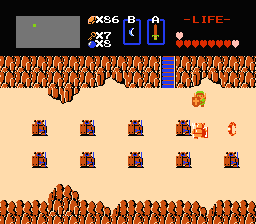
This crescent-shaped bracelet allows you to push certain rocks in the overworld. With it you can use the secret passages connecting squares D3, J5, J8, and N2. This is very handy for crossing Hyrule quickly. The bracelet is found at E3 under the statue in the upper right. To find it, you may need to cross the Lost Woods at B7 (if you don't have the ladder). Once in the woods, follow this path: North, West, South, West (Up, Left, Down, Left). You will come out the other side.

White Sword
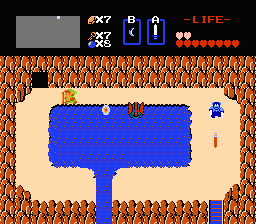
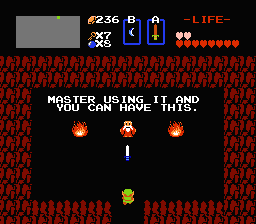
This sword is twice as powerful as the wooden sword. It is given to you by an old man at K1. You need 5 hearts to get it.

Blue Ring
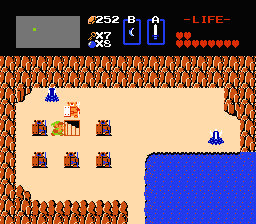
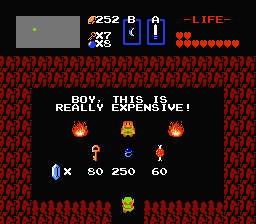
To lose half as many life points as normal. The ring is always equipped. With it, Link changes his green tunic for a white one. The only shop that sells it is at E4. It costs 250 rupees.

Potions
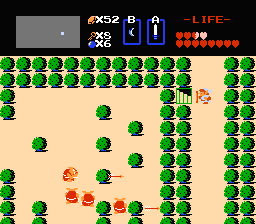
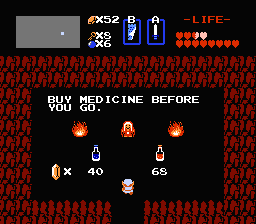
These potions restore all your life when used. The red one costs a bit more but can be used twice (it turns into a blue potion after the first use). An old woman sells them if you have the letter (show it to her). You can also choose the red potion instead of a heart container, but this should absolutely be avoided. The vendors are located at D4, E1, E7, H3, I8, L5, and N1.

Wooden Arrow
To use the bow obtained in the first dungeon, you need these arrows. Buy them at one of the shops that sells them (E5 - F3 - G7 - P7). They cost 80 rupees.
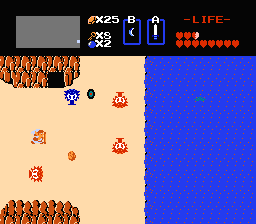

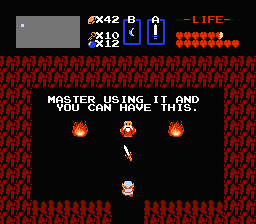
Magical Sword
This sword is twice as powerful as the white sword. It is given to you by an old man at B3. You need 12 hearts to get it.
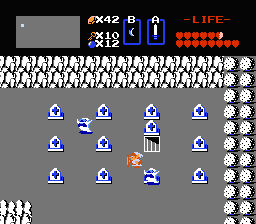

Enemy Bait
While this bait can be useful in tough battles (to attract monsters), it is mainly used in Level 7 to feed a Goriya blocking your path. Buy it at E4 where it costs only 60 rupees.
Underworld Items (Quest 1)
(View Map)


Wooden Boomerang
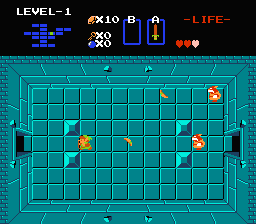
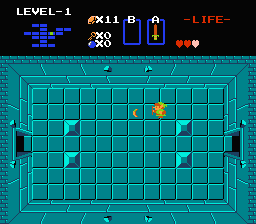
This orange boomerang (not everyone agrees on the color) stuns most "big" monsters like hands, Goriyas, etc., and kills small ones like Keeses or Gels. It can also pick up items dropped by enemies. Its range is not huge (about half a "square"). You'll get it in Level 1 (at D3) by killing all the red Goriyas.

Bow
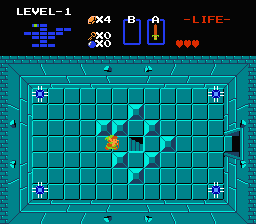
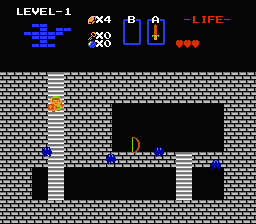
This bow is found in the first palace at B1. It is used to fire arrows which, once purchased, still cost one rupee each time you fire one.
Bomb
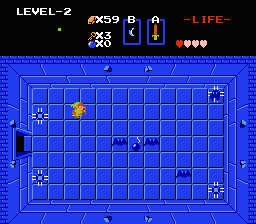
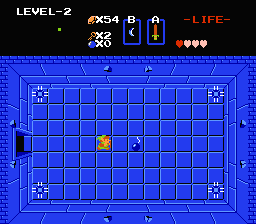
These bombs are mainly used to blast holes in walls. They are found at D4 in Palace 2, and also in some shops.

Magical Boomerang
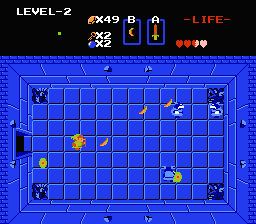
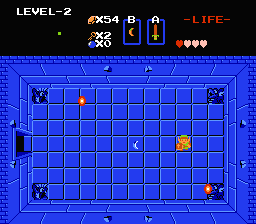
This boomerang — like its predecessor — stuns enemies. However, this one reaches the edge of the screen when thrown. It can also pick up items. Found in the 2nd dungeon at D5.

Raft
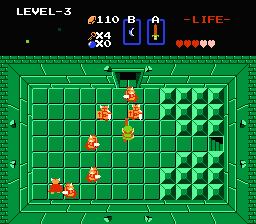
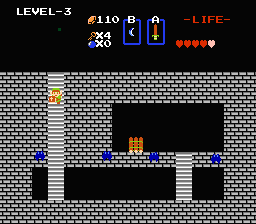
This raft is used to cross the seas at map locations with docks (P3 and F6). With it you can reach Level 4 and a heart container. It is located at A5 in the 3rd palace.

Stepladder
This ladder is used to cross small rivers no wider than the character. It notably allows you to grab the heart at P6, and is hidden at C4 in Level 4.
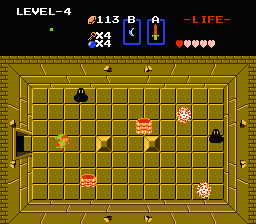
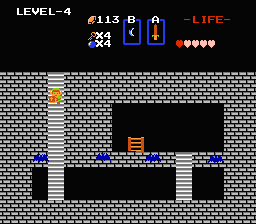

Recorder
This flute is in Level 5 at A2; it will allow you to defeat the boss of that level. You will also use it to teleport to the various dungeons of Zelda 1's overworld, and to drain the lake in the Western Forest. You'll find it at B1 in Level 5. Note on its use as a teleporter: the magic whistle teleports you to a dungeon you have completed. If you are facing North or East, you will go to the next dungeon; if facing West or South, to the previous one. The first time, I'm not entirely sure.
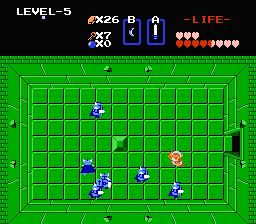
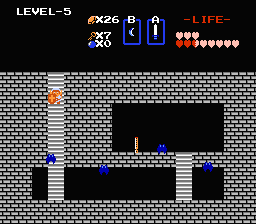

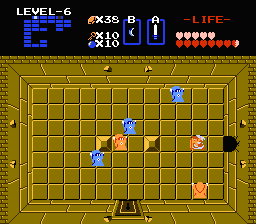
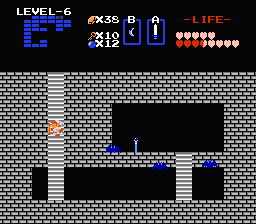
Magical Rod
Without the book, this magic rod fires magical rays resembling those of Wizzrobes. Found in Level 6 at B1.

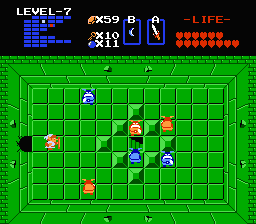
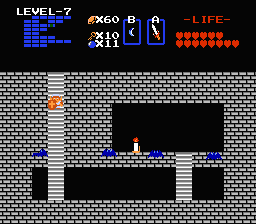
Red Candle
Like the blue candle, this candle burns overworld trees or lights underworld rooms. The only difference is that the red candle can be used as many times as you want: no need to leave the square — ideal for searching for passages. It is located at C2 in the 7th dungeon.

Book of Magic
This book complements the rod. With it, the rod's magic shots will burst into flames upon hitting a wall or monster. You'll get it in Level 8 at B8.
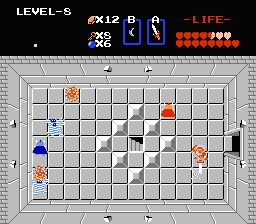
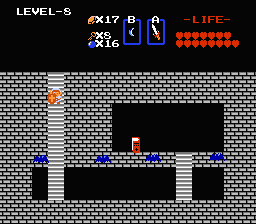

Magical Key
This key simply replaces all others, so you no longer need to search for keys to open locked doors. Found at E2 in Level 8.
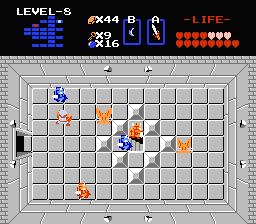
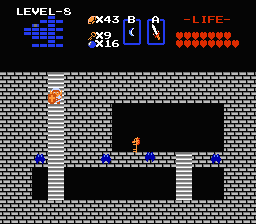

Red Ring
This ring makes you more resilient. You will lose half as many life points as before when hit by an enemy. Even if it affects your appearance, go pick up this item at H1 in Death Mountain.

Silver Arrow
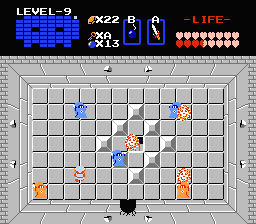
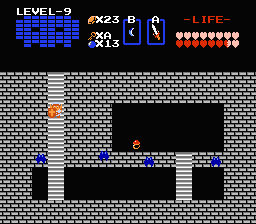
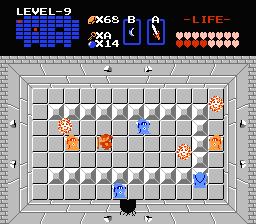
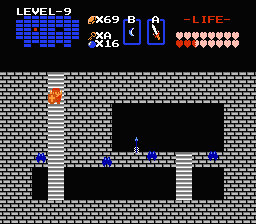
This arrow is the only one that can kill Ganon. Needless to say it is essential to finish the game. You'll find it in the final palace, at A2.
Perfectdams translated by Claude
| Back to The Legend of Zelda homepage |
| Back to Nes home |
- Français -- العربية -- বাংলা -- Deutsch -- English -- Español -- हिंदी -- Italiano -- 日本語 -- 한국어 -- Português -- Русский -- 中文 -