 Zelda 1 - Walkthrough of Dungeon 3 of Quest 2: The L (Zelda I NES mini)
 Map of the labyrinth "The L": Dungeon 3 of Quest 2 from Zelda I (The Legend Of Zelda NES mini)
New monsters appear in this palace: transparent Ropes (snakes), tougher than regular ones. You should arrive at this palace with a key (2 is even better) and some bait.
Go up and try to cross the room heading upward without trouble (at worst, kill the red Goriyas). Go up again, killing the Ropes if you need bombs or rubies (note: it takes 2 hits with the white sword). In the next room, you will need to kill all the blue Goriyas while avoiding their shots and boomerangs, which is quite hard. Don't hesitate to stay hidden in the doorway if needed. Don't forget to pick up the map.
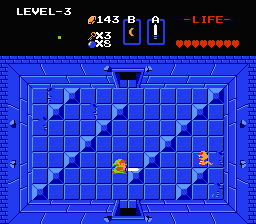
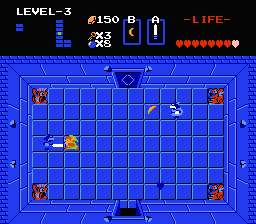
Go up again and kill all the sword-throwing Stalfos to get a key. Go up and feed the red Goriya blocking your path with a growl. Do not go up if you have 2 keys. If you have only one key, or 3 or more, go up to kill all the Goriyas and get the magic boomerang. Otherwise you will come back for the boomerang after finishing the palace. To finish the palace you still need 2 more keys.


Go back down to the second room and open the door on the right where the boss awaits. It is actually 3 Dodongos, so you will need at least 6 bombs to win this fight. Since the bomb margin is not very generous, try not to miss. If you do run out, remember that the Ropes in C5 (left then up) can give you more. The boss drops a heart container (as usual) but the palace is not over yet (unlike usual).

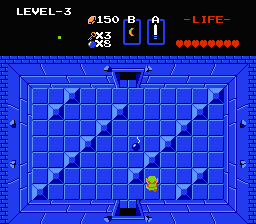
Go down and kill all the Wall-Masters (hands), then take the compass, push the middle stone to the right and take the staircase. Kill all the red Goriyas, take the key, go up and collect the Triforce. If you haven't taken the magic boomerang yet, go back into the palace and head straight up to get it.

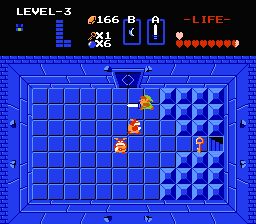
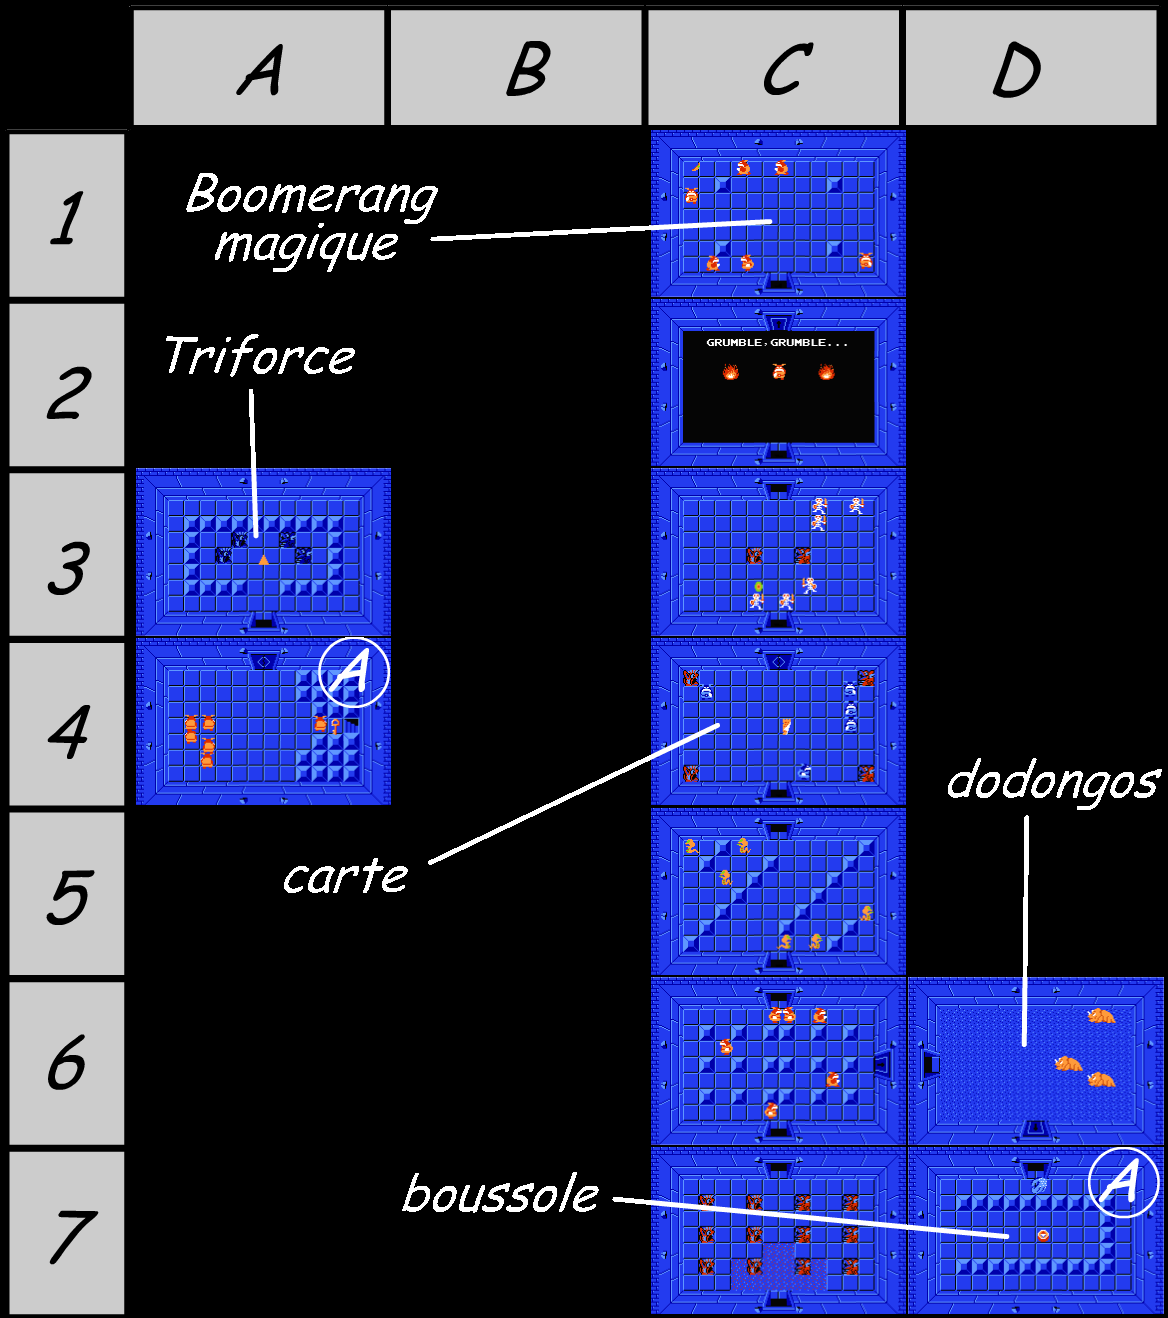
Small Key : C3, A3
Dungeon Map : C4
Compass : D7
Magical Boomerang : C1
 You are ready to continue the adventure. Here is a save file (an 8 KB .sav file).
Perfectdams translated by Claude
| Back to The Legend of Zelda homepage |
| Back to Nes home |
- Français -- العربية -- বাংলা -- Deutsch -- English -- Español -- हिंदी -- Italiano -- 日本語 -- 한국어 -- Português -- Русский -- 中文 -