Zelda 3 A Link to the Past Walkthrough on Super NES: Ice Palace, 5th Crystal (GBA, SNES, Super Nintendo)

To start, equip yourself with the Fire Rod to kill the ice monster and open the door. Go left and kill the blue jellies to get the key (1) and go up. Press the button at the bottom left of the room (2) and take the door. Push the block to the right, go down, and use flame magic (3) to cause duck-carnage and make the Compass chest appear.
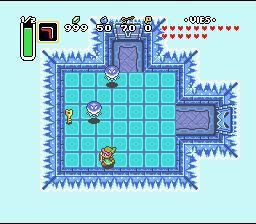
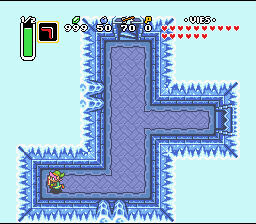

Go back up, go right, kill everyone (flames) and press the button under the bottom skull (1). Go back left and go up. Kill the red jellies, hit the crystal switch, place a bomb on it (2) and go to the other side of the room. Place a bomb on the cracked floor and fall into the hole. To kill the skeletons, you have to hit them once with the sword then place a bomb on them (3). Once both Stalfos are killed, go down.
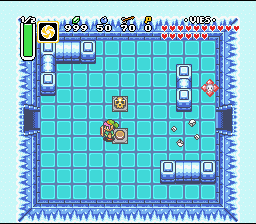
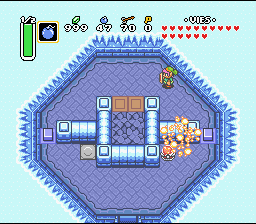
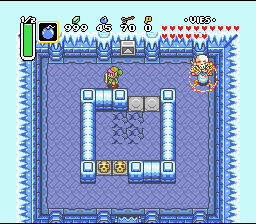
Cross the large room killing the blue jellies (1) and get a key that opens the door at the bottom left (the crystal switch must be red). Cross the room by pressing the button under the skull at the bottom left and take the door. Go down the stairs and kill the bad guys with flames. Take the top door and stop to avoid the spike trap. Take the top door avoiding the enemy and fall into the trap. Take the right door and use your hookshot to cross the room (2) and take the bottom door. A trick to cross the next room: run into the wall and go up quickly to take the stairs on the left. Use the hookshot on the skull, lift it, press the button, reuse the hookshot and open the chest. Take the left door with the key and go back into the room to cross again with the skull and take the stairs at the top. Hit the pegs with the hammer, kill the skeleton, lift the large rock, get the key, hit the other pegs with the hammer and kill the skeleton. Pull the statue's tongue (3), lift the skulls and press the button. Open the chest to get the Map and go through the right door.
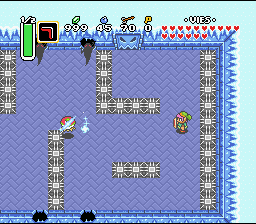
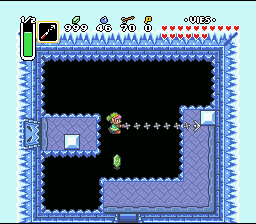

Take the stairs then the Big Key in the chest (1). Take the stairs again, pull the statue's tongue and go left then up. Go twice more to the left and take the stairs in the room where a flame is rotating. Kill the two enemies with flames and make a hole in the cracked floor on the left of the room (2). Fall into the hole and open the big chest to find the Blue Mail (3). Go right twice, lift the skull just above you to get a key and the skull all alone at the top right to press the button. Go back to the left and take the big door at the top. Cross the room to go down the stairs.
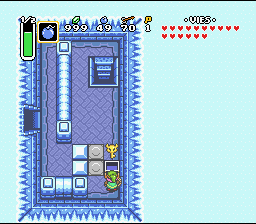
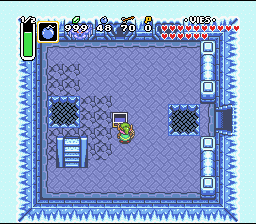
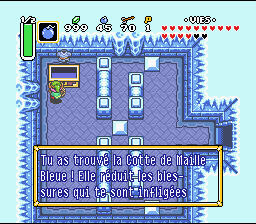
Go down then go right, hit the crystal switch and come back. Go up. If you fall into one of the two holes, there are three fairies. Otherwise, take the bottom door and go right. Press the button again, take the bottom door then the one on the left. Lift the skull at the bottom left, press the button and take the key from the chest. Take the stairs at the top then the door at the top right. Lift the skull on the right, press the button, go left, fall into the hole and go right. Push the block from the bottom left into the hole and follow it. Push the block onto the button under the skull and go down. Pull one of the two statues on the left, hammer a peg, lift the stone and fall into the hole. It's the Boss.

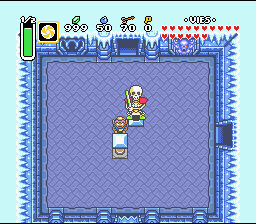
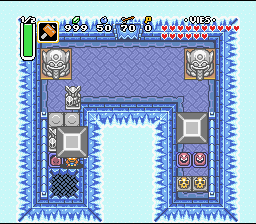
The boss is divided into 2 phases:
- in the first, the eye is locked in a block of ice, hit it with the Fire Rod;
- in the second, three eyes separate, hit them with your sword until they all die.


Perfectdams translated by Gemini
| Back to The Legend of Zelda: A Link to the Past homepage |
| Back to Super Nes home |
- Français -- العربية -- বাংলা -- Deutsch -- English -- Español -- हिंदी -- Italiano -- 日本語 -- 한국어 -- Português -- Русский -- 中文 -