Zelda 3 A Link to the Past Walkthrough on Super NES: Misery Mire, 6th Crystal (GBA, SNES, Super Nintendo)

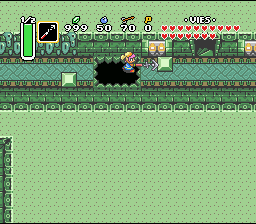
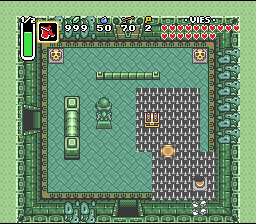
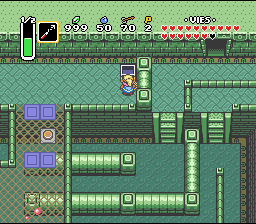
Move forward and equip the Hookshot to cross the gap (1). Take the stairs and kill all enemies to open the door. Take the door opposite (top right) by going through the bottom of the room. Push the stone, go straight up to the chest containing a key, and return to the stone room. Go right. In this room, there are 2 keys: one under the skull at the top left and one in a chest that appears by stepping on the button hidden under the skull in the middle of the spikes (2). To reach it without taking too much damage, use the Magic Cape. Take the top door twice, then follow the path to a large room. Go left to hit the orb and get a key hidden under a skull. Descend twice using the Magic Cape. Go right, lift the skull in the center of the room to reveal a chest containing a key (3).
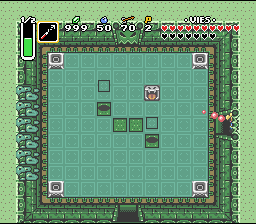
Take the door at the bottom left, kill all monsters to get another key. Go left and stay in the doorway to avoid the flying floor tiles (1). Light all the torches, go up, and open the chest to get the Compass (2). Go down twice and take the stairs going up. Push the stones, quickly light the 2 torches, and head down without wasting time to light the other 2 with your Fire Rod (3). If all 4 are lit at the same time, the palace trembles and a breach opens.
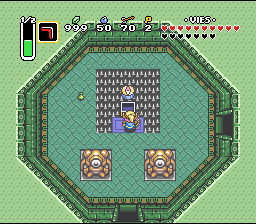
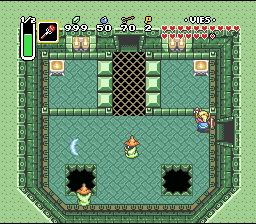
Go right, fall into the hole, and open the chest to get the Big Key (1). Return to the large room at the beginning and take the bottom right door, then right again. Go very quickly to the top of the room via the right-hand path where the tiles fall rapidly. Open the big chest to get the Cane of Somaria (2). Go left and open the chest if the orb is the right color. Otherwise, return to the large starting room and take the top right door (using a key). Open the chest to get the Map (3).
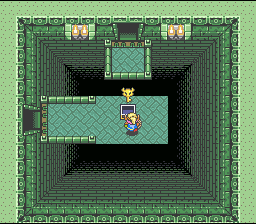
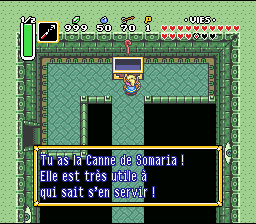
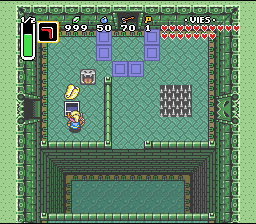
Go up twice, then left. Go up the stairs and open the big door. Go straight and head down the stairs. Use your Cane of Somaria on the button on the left to open the door below (1). Take it and then take the left door. Go all the way to the top to hit the orb with your boomerang (2), then take the left door. Make a hole in the top wall (3) and hit the orb. Go back down and go left. Hit the orb at the very top and take the stairs. Go left, this is the Boss door.
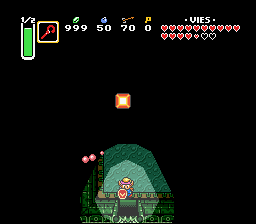
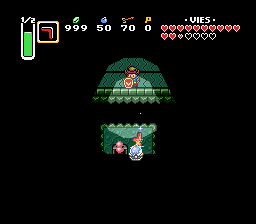
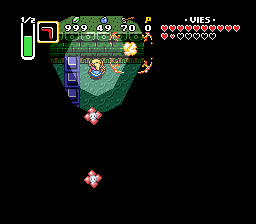
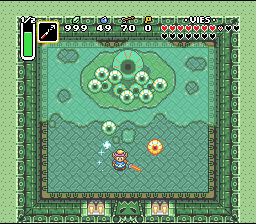
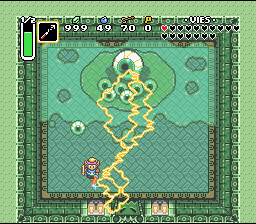
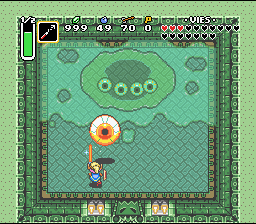
The boss has 2 phases:
- In the first, the eye is defended by small eyes that you must kill with your sword. Watch out, when the large eye turns white, it shoots lightning.
- In the second, the large eye rushes at you while bouncing. If you strike continuously (and it's in front of you), you'll hit it every time without it touching you.


Perfectdams translated by Gemini
| Back to The Legend of Zelda: A Link to the Past homepage |
| Back to Super Nes home |
- Français -- العربية -- বাংলা -- Deutsch -- English -- Español -- हिंदी -- Italiano -- 日本語 -- 한국어 -- Português -- Русский -- 中文 -