Super Castlevania 4 sur Super Nintendo - Niveau 10 : The Clock Tower


The Clock Tower
Unsurprisingly, this level is mainly vertical since it involves climbing to the very top of the clock tower to reach the dungeon. However, it starts with gears on a horizontal section to get you familiar with the clock. In 2D, the wheels spinning in depth act as conveyor belts, and you'll need to jump to move faster. As for the cogwheels, you'll need to be careful because you can really feel the notches and you are slightly "pushed" to avoid landing on one of them. Here, as in the rest of the level, you must be very careful not to fall.
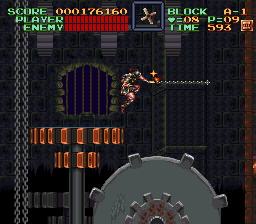
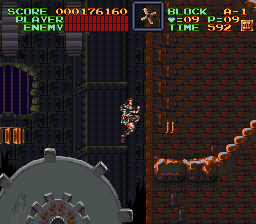
For the first ascent of the level, your worst enemy remains the cogwheel. The stones that collapse before the sword skeleton could also be annoying, but by killing the skeleton before if it's too close, it shouldn't be too dangerous.
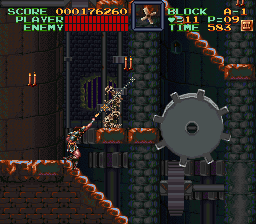
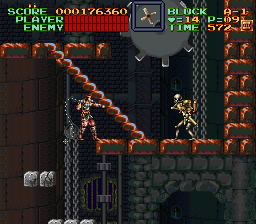
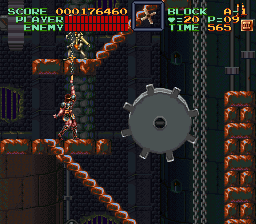
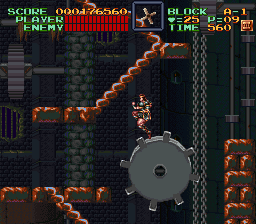
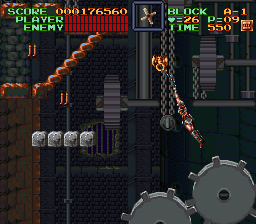
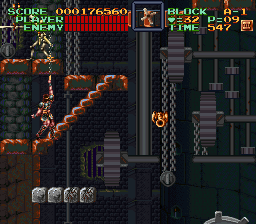
For this second short horizontal part, the main risk of death is still the cogwheel, but this time it's because if you don't crouch immediately, the nails will kill you. Then, don't release the button and swing well while suspended (and don't miss the exit on the right). The least risky way is to swing hard.
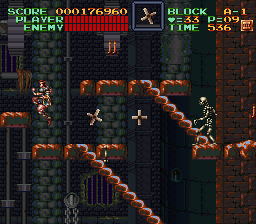
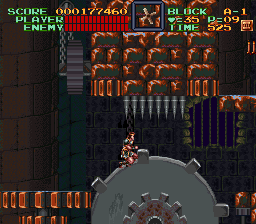
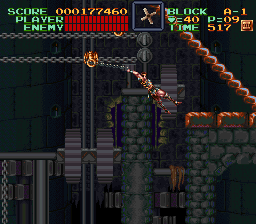
Second ascent. After taking down the 2 axe-wielding guards, you'll need to be very careful of the wheel attacking you. Crouching at the right spot won't be easy even if you know it's coming.
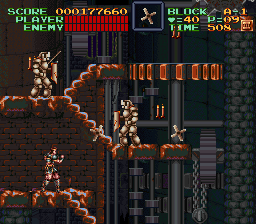
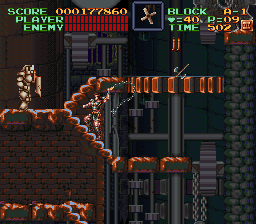
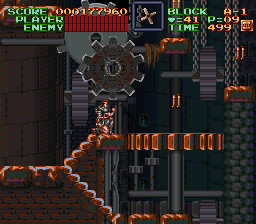
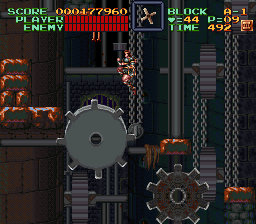
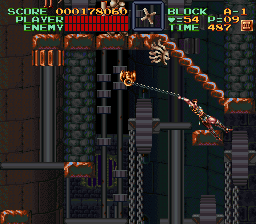
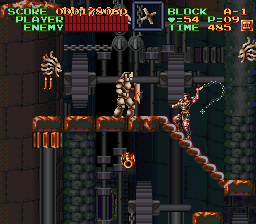
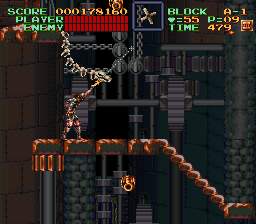
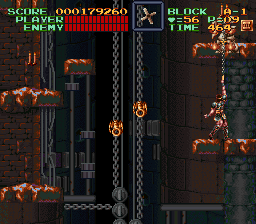
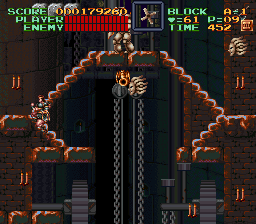
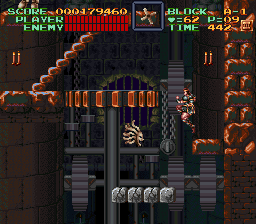
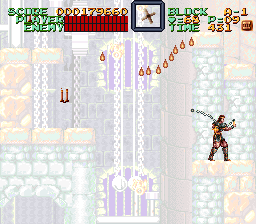
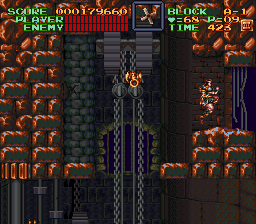
The ascent is over. A few steps with bonuses and skeletons and you arrive at the boss.
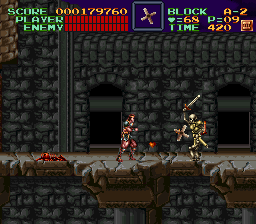
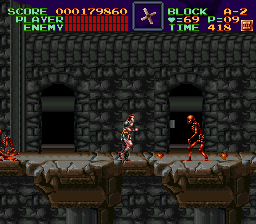
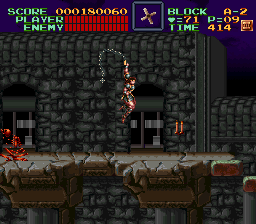
Level A Boss: The Mummy
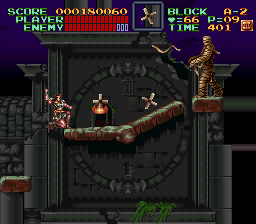
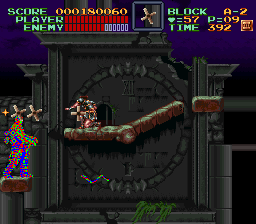
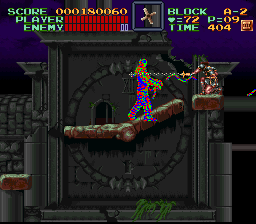
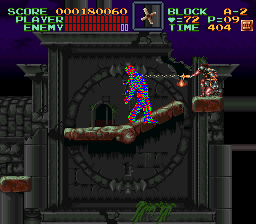
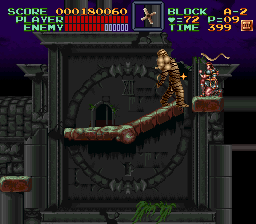
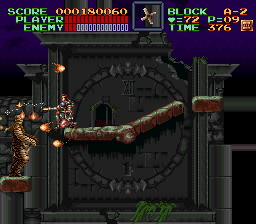
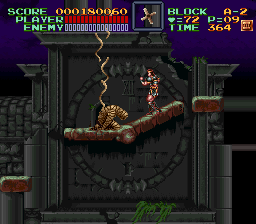
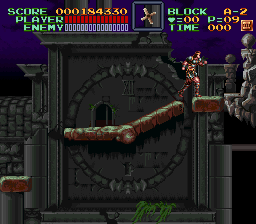
This mummy isn't very original since it shoots... bandages (or fireballs). The boomerang is more useful than ever. The mummy teleports from one platform to another, and if it appears in the bottom left, you can finish it off very quickly with the boomerang (see video). Otherwise, you have to hit it and avoid the bandages, which can also be destroyed, but it's not very easy because you have to aim well (depending on the distance, strike standing or crouching). And when it's close to you, you have to strike at the right moment (at a certain distance, crouching is enough). Be careful because the bandages can, of course, push you into the void. With each teleportation, the mummy can "change weapons" and start shooting flames in a much more random way than the bandages. When it appears in the middle, go to the left and strike diagonally (up-right). This position is quite safe since if you get hit, normally, you won't fall into the void. Be careful, however, not to fall on your own because Simon can move forward a bit between each whip strike. If the mummy appears on the right, you can hit it a lot or play more defensively with a held strike that will hit it and then stop a bandage (if it shoots bandages). If it shoots fireballs, try to hit it as many times as possible.
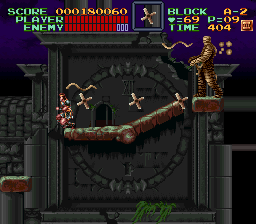
Rendez-vous dans le Niveau suivant : the dungeon.
Perfectdams translated by Gemini
| Back to Double Dragon II - The Revenge homepage |
| Back to Super Nes home |
- Français -- العربية -- বাংলা -- Deutsch -- English -- Español -- हिंदी -- Italiano -- 日本語 -- 한국어 -- Português -- Русский -- 中文 -