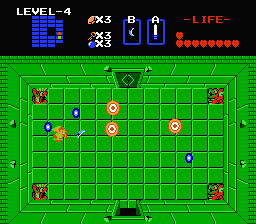
The description in italics is text taken from the Zelda I instruction booklet.
Overworld Enemies

|
| Tektite |
  |
|
|
|
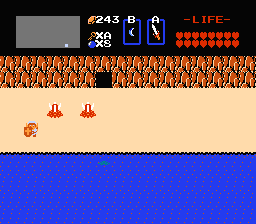
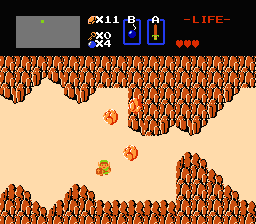
These hopping spider creatures are not very combative. The red ones move faster than the blue ones.
Tektites are fairly weak spiders. The blue one gives quite a few rupees on average.
These spiders are rather unpredictable and can stay still for a long time before suddenly doing a bunch of rapid jumps.
Blue Tektites yield a good amount of rupees.
|
|
| |
|
|
|
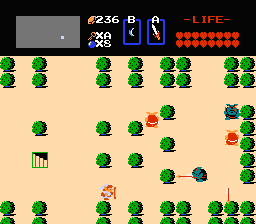
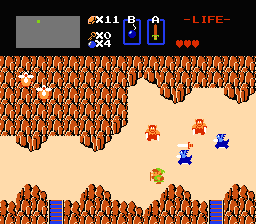
A sort of red or blue octopus that lives on land. The blue ones spit stones at Link.
Octoroks are the "basic" enemies of Hyrule. Whether blue or red, Octoroks shoot stones at Link using their big nose. Blue Octoroks are tougher than red ones and it takes 2 hits to kill them with the wooden sword.
|
|
| |
| Leever |
  |
|
|
|
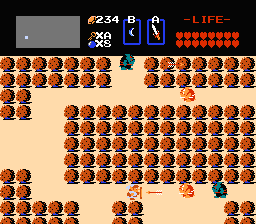
They live in the earth and sap the energy of creatures that approach them. Blue leevers are stronger.
Leevers live on beaches or in the desert and spend most of their time buried in the sand. They emerge when Link passes nearby. Blue Leevers are twice as tough as Red Leevers, which already take 2 wooden sword hits to defeat. Red leevers yield a lot of money. |
|
| |
| Peahat |
 |
|
|
|
It is the ghost of a flower that doesn't have very great attack power. Link can only eliminate it if Peahat stands still.
This helicopter flower flies around and attacks Link. Link can only attack them when Peahats land and stop spinning their propellers. In general, it is best to avoid Peahats because it takes quite a while to beat them all, since it takes 2 hits to kill them with the wooden sword and they often manage to take flight again between the 2 hits.
|
|
| |
|
|
|
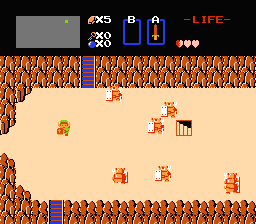
A bulldog-like monster that lives in the forest. It attacks by throwing spears.
Not very difficult to kill, just watch out for its arrows which even the small shield can block if you don't swing right as the arrow arrives. Blue Moblins are tougher than Red Moblins.
|
|
| |
| Armos |
  |
|
|
|
A rather powerful soldier who was transformed into a stone statue. If Link brushes past it, it moves and attacks.
This stone soldier will attack you if you touch it. There may be stairs under Armos so if you want to search all of Hyrule, you'll have to wake them all up. Some are fast and others slow. It only takes 3 wooden sword hits to defeat it. Be careful not to wake it up from underneath as this will drain your life. For safety, wake them up one by one (not all at once). |
|
| |
| Ghini |
  |
|
|
|
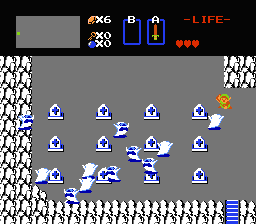
A ghost as powerful as Armos, it lives in the graveyard. There are two kinds: Ghinis that have been there from the start and those that appear when Link touches the headstones.
The toughest monster in the overworld (9 hits with the wooden sword) can net you quite a few bonuses. Initially there is only one Ghini, but by touching a grave, you wake one up each time (up to 10). These cannot be hit, but if you kill the starting one, all the Ghinis will disappear (the starting one does not go diagonally and does not pass through graves). Ghinis only live in the Hyrule graveyard. If you want to kill lots of Ghinis, I advise you to heavily damage the original Ghini (8 wooden sword hits for example) before waking the others so you can kill everyone with a single sword stroke.
|
|
| |
|
|
|
The guardian of Death Mountain. Link's small shield cannot fight against its attacks.
Lynels are the most dangerous enemies in the overworld. They shoot swords (or daggers) that only Link's magical shield can stop. It takes 6 wooden sword hits to defeat the blue one (4 for the red) while its swords take away 2 hearts (without a ring). If the Lynel stops, it is surely about to shoot; step out of the straight line if you don't have the magical shield.
|
|
| |
| Zola |
  |
|
|
|
Half fish, half woman who lives in the water. She attacks by spitting a ball that Link's small shield cannot stop.
Zola appears on the surface of the water, shoots a ball, and dives back down. This enemy will be very difficult to beat with the wooden sword because you have to hit her twice in a row (if she dives back down, she recovers her health). You can tell where Zola is going to surface thanks to the bubbles that appear on the water. You will need the magical shield to block these attacks.
|
|
| |
| Rock |
 |
|
|
|
These indestructible boulders fall from Death Mountain to attack Link.
These stones fall in groups of 3 and cross the screen from bottom to top. |
|
| |
Underworld Enemies

|
|
|
|
Jellyfish monsters that separate into two Gels when sliced. Gel has less attack power than Zol.
Zols will turn into 2 Gels if you hit them with the wooden sword. Gels can be killed with the boomerang. If you have the white sword or the magical sword, Zols will die without splitting. In this case, they leave quite a few bonuses (heart or rupee). Gels never leave anything behind.
|
|
| |
| Rope |
  |
|
|
|
A venomous snake with low attack power. It quickly perceives other creatures and hurries to attack them.
These move around rather slowly until you are in their field of vision (i.e. either on their horizontal line or their vertical line). Then, they rush at you; block them with your boomerang or kill them directly with a sword stroke. These snakes generally yield a lot of money and it only takes one hit to kill them. In the second quest you will encounter transparent Ropes. These are 4 times tougher but behave the same way (except they yield less).
|
|
| |
| Vire and Keese |
  |
|
|
|
|
Vire is a demon that separates into two Keeses when Link slices it with his sword. Keeses have less attack power.
Vires, somewhat like Zols, transform into two Keeses (bats) when you hit them. If you hit them with the magical sword, they will die instantly. Keeses are killed with the sword or boomerang and never leave bonuses behind. |
|
| |
| Stalfos |
  |
|
|
|
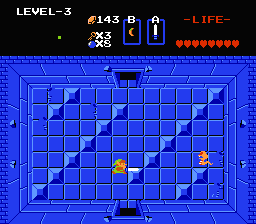
A skeleton with low attack power.
In the first quest, the Stalfos is not very dangerous; it moves forward slowly in a straight line without ever speeding up. It doesn't hurt much (1/2 heart) and it only takes 2 wooden sword hits to defeat it. In the second quest, the Stalfos has the same flaws except that it shoots swords which will take away 2 hearts at once. The small shield cannot block these very fast-arriving swords. Watch Stalfos closely as they stop before shooting.
|
|
| |
|
|
|
A monster hand that emerges from the labyrinth wall. If it grabs Link, it takes him back to the beginning of the labyrinth.
It takes 2 hits to kill these hands with the wooden sword. It only takes away half a life point but brings you back to the entrance of the dungeon if it touches you.
|
|
| |
|
|
|
A small blue or red devil that uses boomerangs. Blue Goriyas are stronger.
Goriyas are among the first enemies you encounter in the dark dungeons of Zelda. These will allow you to obtain the wooden boomerang and the magical boomerang. Goriyas throw their boomerang in front of them and your small shield will be enough to counter them.
|
|
| |
|
|
|
The powerful Master of Movement. It emerges from all sides deploying spells against which Link's small shield cannot defend.
While the orange ones are quite simple to kill because they don't move, the blue ones are quite tough. Orange ones appear and remain stationary for a short moment before firing (you can counter with the magical shield) and then disappear. Don't attack them head-on and everything should go well. Blue ones roam freely around the room and can jump on you when you attack them so be vigilant as they can pass through blocks and rivers. If you can counter these wizards' shots, it is solely thanks to your shield. With the magical sword, it takes 3 hits to kill blue Wizzrobes and 1 for orange ones.
|
|
| |
|
|
|
The knight who has high attack power. He repels Link's frontal attacks with his shield.
Darknuts are knights that you can only attack from behind or the side, or else with bombs (no, that's not cowardly). You have to hit the red ones 4 times with the wooden sword and the blue ones 4 times with the white sword. Apart from that, they are the same. I therefore recommend bombs if there are too many of them. Also use the scenery to defeat them (by getting under a block, you can hit them when they pass right overhead). They are not afraid of the boomerang.
|
|
| |
| Pols Voice |
 |
|
|
|
A big-eared ghost with a weakness - It hates noise.
These animals are very resistant to sword strokes (5 white sword hits), so I advise you to kill them with your arrows (1 arrow is enough). |
|
| |
|
|
|
A gigantic centipede. A head attack won't stop it.
This centipede goes very fast and is killed with the sword. The number of hits is variable and you will have to kill all the tail pieces before you can completely eliminate it. |
|
| |
| Like Like |
  |
|
|
|
A tubular monster that eats magical shields.
This very strange monster will eat you if it touches you. Once inside, you can strike to kill it. If you stay in its body a bit too long, it will eat your magical shield (you'll have to kill it very quickly so it doesn't eat yours). In certain rooms with Like Likes and Wizzrobes, some players hide inside Like Likes in order to hit Wizzrobes without getting touched. Like Like doesn't hurt very much. |
|
| |
| Gibdo |
 |
|
|
|
The mummy man who has bizarre powers.
In reality, Gibdos have nothing special about them. They don't move very fast and don't go diagonally. They hurt (1 heart with the blue ring) and are tough (4 white sword hits).
|
|
| |
| Moldorm |
 |
|
|
|
A huge worm that lives in the labyrinths. It gets smaller as Link attacks it.
Moldorms are fire worms that roam around in pairs. They are quite slow, but finishing them off will require quite a few sword strokes.
|
|
| |
| Bubble |
  |
|
|
|
The spirit of the dead. When it catches Link, he will be unable to draw his sword for a certain period of time.
During the first quest, you will only encounter white Bubbles. These won't take away life points, but you won't be able to swing your sword for a few seconds. In the second quest, you will see red Bubbles and blue Bubbles. If you touch a red Bubble, you won't be able to draw your sword until you touch a blue Bubble.
|
|
| |
| Patra |
 |
|
|
|
Patra attacks in large groups.
Patra is a sort of mini blue crab (like Gohma) protected by lots of small orange Patras. To be able to touch the blue one, you must first kill all the orange ones with sword strokes. Patra takes quite a while to kill because the little orange ones circle around the blue one very fast. |
|
| |
|
|
|
They attack Link suddenly when he approaches them.
Traps are spiked blocks that guard doors by rushing at you when you pass in their alignment. If one guards a key-locked door or other narrow spots, you'll have to pretend to walk past to draw them out, then take advantage of their slow return to get through. Stone statues don't move, but they shoot fireballs that you can counter with your magical shield.
|
|
|
| |
Hyrule Underworld Bosses
|
|
Fireballs shot by bosses cannot be stopped by any of Link's shields.
|
| Aquamentus |
 |
|
|
|
A unicorn with high attack power. It spits beams.
Aquamentus is the first boss Link will encounter (first palace). This unicorn shoots balls but never moves from its spot. It will be very easy to beat if you can shoot swords while staying far away. Otherwise, since it is neither very powerful nor very tough, getting into close combat and hitting the head very fast will be enough to defeat it if you have a few hearts in reserve.
|
|
| |
|
|
|
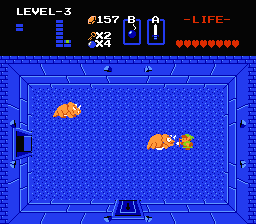
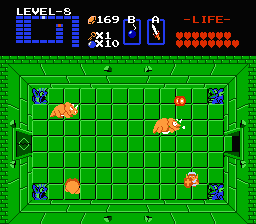
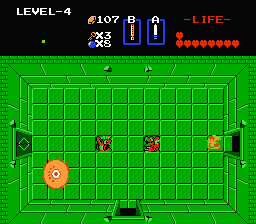
A giant rhinoceros with low attack power. It repels attacks with its thick hide.
The boss of the second palace is not afraid of attacks coming from the outside. To kill him, you'll have to make him swallow bombs by positioning yourself right in front of him and dropping the bomb just as he arrives. It will take 2 bombs to finish him off. Later in the game, Dodongos can arrive 3 at a time, so you'll need to place your bombs carefully so you don't run out by the end.
|
|
| |
| Manhandla |
 |
|
|
|
A giant four-pincer cannibal flower. It goes faster as it loses these pincers.
Manhandla is a big flower with 4 pincers guarding the 3rd dungeon. At first, it is very slow but shoots lots of fireballs. The best way to kill it is to drop a bomb under its heart to kill it in 1 hit. If this bomb doesn't explode right in the middle, Manhandla will just lose one or more pincers. In this case, it will move faster and you'll need luck to get it with a bomb. Manhandla is also vulnerable to the sword, but you must have at least made it lose a pincer to reach its heart without getting hit.
|
|
| |
| Gleeok |
 |
|
|
|
An immense dragon with 2 to 4 heads that spits beams toward Link. The heads that Link cuts off fly into the air.
The leader of the fourth dungeon is surely the hardest boss of all. If you can shoot your swords, the best thing to do is to stand on one side facing these heads and shoot continuously. Otherwise, you'll have to approach and strike while trying to avoid its shots. You won't be able to stay hidden the whole fight even if you shoot because a destroyed head will fly off and roam the room shooting fireballs.
|
|
| |
| Digdogger |
 |
|
|
|
Big powerful sea urchins. They shrink when attacked.
Digdogger is a sea urchin with an impenetrable shell, guarding the fifth triforce piece. Its weak point is that it is sensitive to music. By using your whistle, it will transform into one or several small Digdoggers (up to 3) which are vulnerable to sword strokes.
|
|
| |
| Gohma |
  |
|
|
|
The super-huge crab with a thick shell that repels all attacks. Attack its weak points with a special weapon.
This boss is surely the simplest. In dungeon 6, you will just need to put an arrow in its eye to kill it. Subsequent ones will be blue (instead of orange) and will be tougher, but you'll have to use the same technique to finish them off. Gohma shoots fireballs to attack Link.
|
|
| |
 Zelda 1: Hyrule's monsters (standard enemies and bosses) (Zelda 1 NES mini)