Perfect Dark on Nintendo 64 - Special Agent Mission 4 : Area 51 - part 1 : Area 51: Infiltration

Back to mission home


Area 51: Infiltration - Special Agent : Primary Objectives
- Shut down air intercept radar
- Plant comms device on antenna
- Gain access to hangar lift
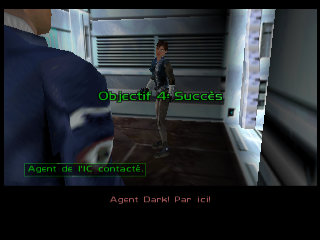
- Make contact with CI spy
1. Shut down air intercept radar
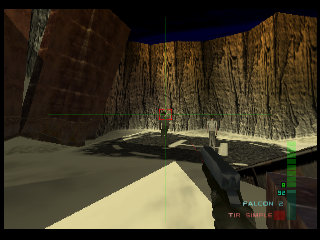
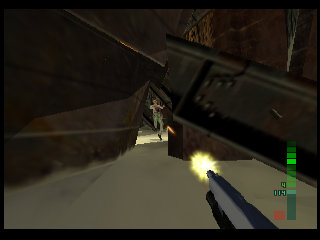
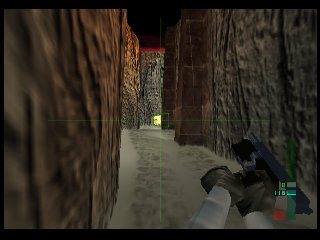
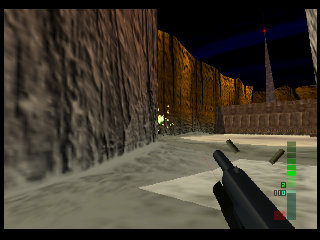
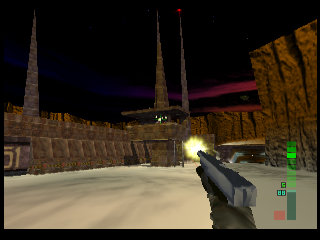
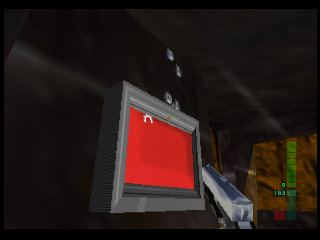
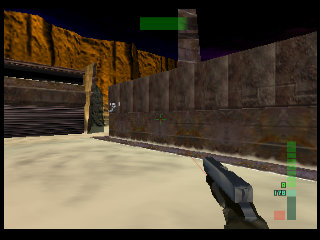
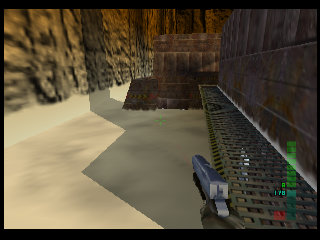
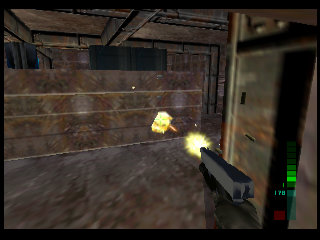
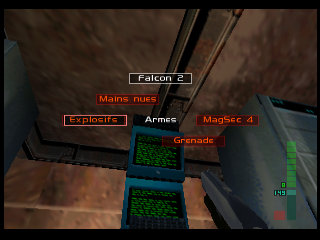
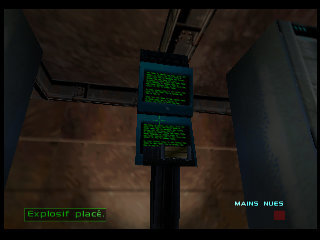
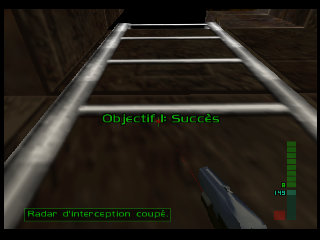
Start by taking down the 2 guards just to your right and head to the left. Kill the guards along the way and blow up the 2 turrets. The first is at the far right of the long "corridor" and the second is on your left when you reach the large open area. On your right is a guard tower watched by two guards. Eliminate them but don't climb the ladder to open the door right away — go complete the second objective first instead. Once the second objective is done, climb the tower via the ladder to press the big red button that opens the door (watch out for the flying interceptor robot, keep it away). Blow up the 2 machine guns on your right after the door. Personally I prefer rushing past the machine guns to the bunker entrance and blowing them up from behind (watch out for the guard(s) near the bunker). You can get hit while passing, but once behind them you can target them calmly without them seeing you. On the way, you can duck into the small tunnel near the bunker to get a shield, and if you go through it you can grab the rocket launcher that lets you destroy the flying robot with the guided mode. Careful — go in a straight line from the small passage to the rocket launcher, as it's riddled with mines. Also watch out for not getting hit by the robot. Then enter the bunker. Inside are laser emitters that can hurt you badly. Crouch and blow up one of the 2 bottom ones on each laser row to pass calmly on the way back. Once the path is prepared, go to the console on which you'll need to place the explosives that are in your inventory.
2. Plant comms device on antenna
Before going to press the guard tower button, follow the large corridor while eliminating the guards. At the end of the corridor, watch out for the guards around and especially the turret on your left. Blow it up and advance again carefully because of the remaining guards and the automatic machine gun above the door, which can be taken out from far enough away that it won't hurt you much. Once the perimeter is pacified, press the button on the structure below the antenna to lower it. Take out the "Comms Rider" and throw it onto the antenna to complete the second objective. Don't forget to kill the guards coming through the door once the device is placed, and go back to the guard tower (watch out for new guards waiting for you). Then climb back up the tower and go back to the first objective.


3. Gain access to hangar lift
Normally, you should already have the elevator key; if not, go around the enclosed area around the bunker and take everyone down. The elevator activates by pressing the button right in front of you as you climb back up the bunker ladder. When the huge rolling shutter opens, shoot the 2 guards and wait for the elevator to come down while picking up their Dragon (SMG). Here you are at the entrance to the hangar.


4. Make contact with CI spy
In the hangar, don't overthink it — kill every guard you come across. You'll need to find the ramp that lets you climb onto the iron structure and follow it to find a new, more conventional-sized elevator. Activate it to go down one floor. Two guards will be waiting when it opens. Shoot them and find the ramp again (the storage areas on both floors have the same layout). At the bottom of the ramp, quickly turn around toward all the guards arriving, but instead of looking for a fight, quickly go through the door they opened — that will end the level.


Fin de la mission
A peine entrée qu'un coup de feu retentit. Le garde a l'entrée était un vrai garde et l'espion a sauvé Joanna en lui tirant dans le dos. Après une brève joute verbale, Joanna prévient le commandement qu'elle est entrée en contact avec l'espion de l'Institut Carrington. Il s'agit maintenant de sauver "notre ami" dans Area 51: Rescue.


| Back to PerfectDark walkthrough | Back to PerfectDark homepage |
| Back to Nintendo 64 home |
- Français -- العربية -- বাংলা -- Deutsch -- English -- Español -- हिंदी -- Italiano -- 日本語 -- 한국어 -- Português -- Русский -- 中文 -