Perfect Dark on Nintendo 64 - Special Agent Mission 5 : Air Base - part 3 : Crash Site: Confrontation

Back to mission home
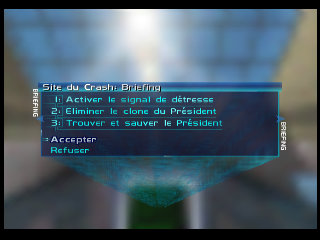


Crash Site: Confrontation - Special Agent : Primary Objectives
- Retrieve Presidential Medical Scanner
- Activate Distress Beacon
- Retire Presidential Clone
- Locate and Rescue President
1. Retrieve Presidential Medical Scanner
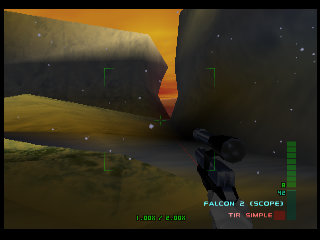
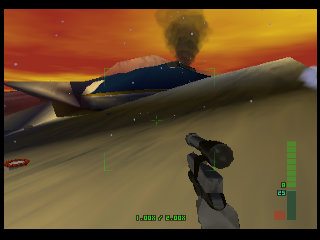
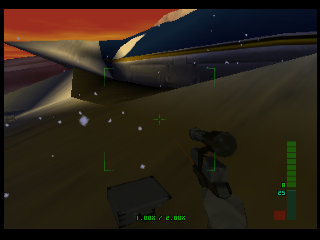
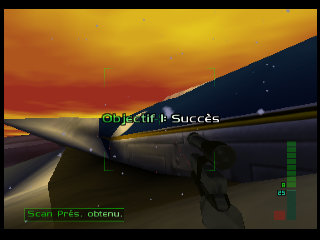
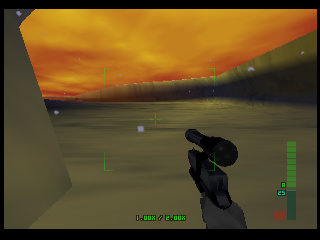
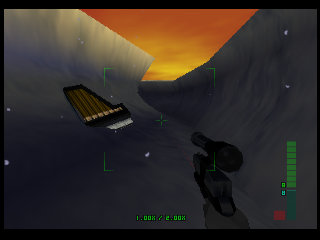
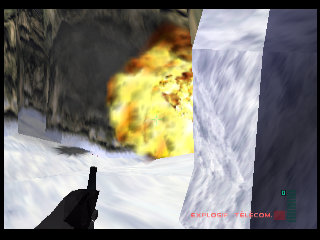
Head straight on and pass to the right of the big rock/mountain chunk. Take out the 2 guards a bit further along and keep going straight to pass through a narrower passage before arriving in front of the crashed plane. Search around a little and you should find the briefcase among the wreckage.
2. Activate Distress Beacon
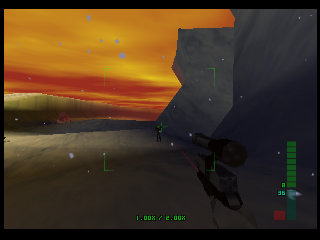
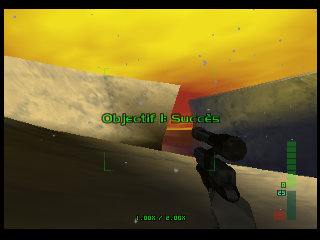
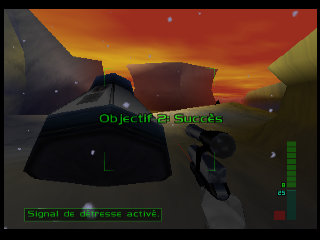
Turn back to go through the narrow passage again. Follow the right-hand edge to activate the beacon on the capsule the President used to escape the plane.
3. Retire Presidential Clone
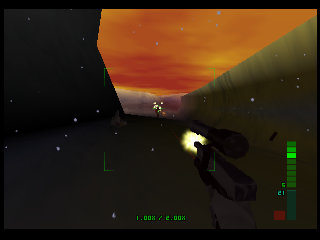
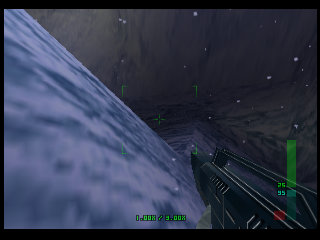
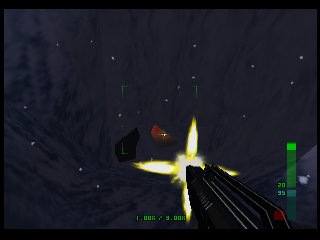
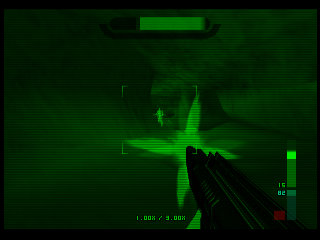
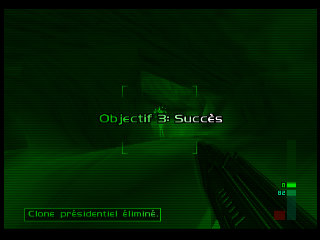
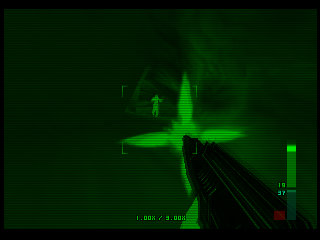
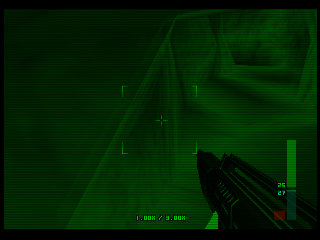
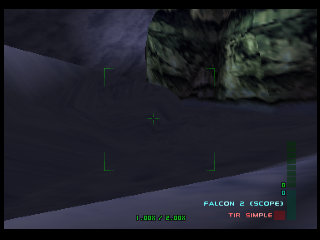
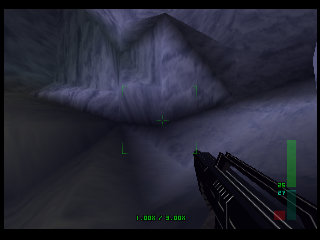
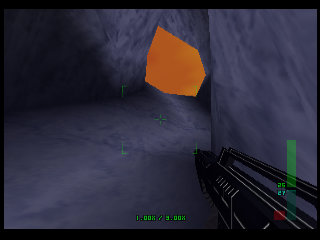
Turn back and pass to the right of the big rock again to venture into a snowy corridor. Shortly after passing the President's plane piano, you reach a somewhat more open area. Follow the right-hand wall down and go to the cave via the right-hand entrance (remember to put on your night vision when you arrive). Keep following the right-hand wall and pick off the few enemies from a distance thanks to your night sight. One of your victims should be the President's clone.
4. Locate and Rescue President
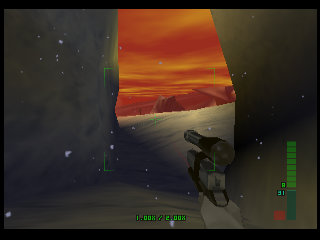
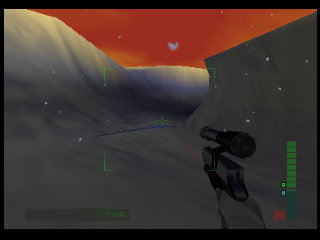
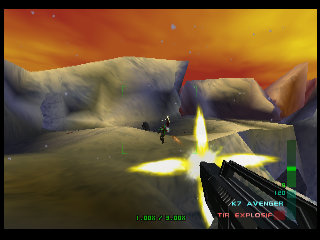
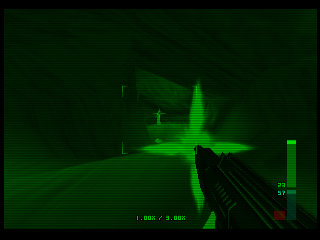
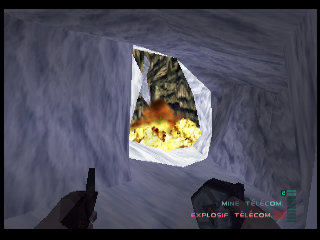
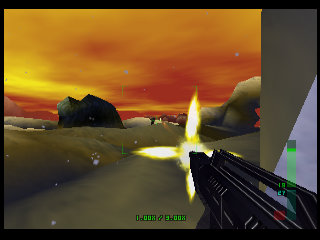
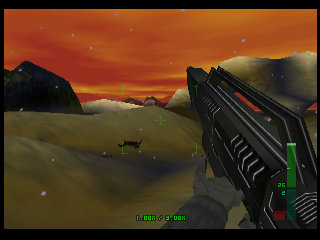
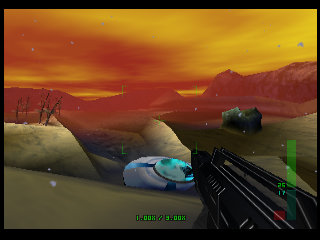
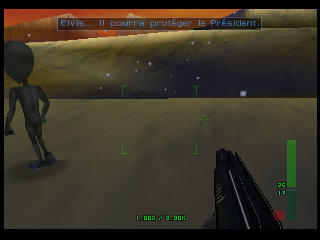
Keep following the right-hand wall, taking out the enemies that show up. It's not the most direct route, but this way you shouldn't miss the small corridor that leads up out of the cave. When the light comes back, take off your night vision and keep going up a little without leaving the corridor too hastily, since you'll need to blow up a few flying gun-drones. Normally there are two at the exit and two more coming from the right. Keep following the right-hand wall to see Trent and the President. Fire a shot at Trent (or hit him) to make him leave, and keep following the right-hand wall while making sure the President is following you. Shortly after the climb begins, you should enter the recess (on the right again), at the end of which you'll see an orange sky appear. In this last open area, you'll need to be careful to kill everyone, since Trent's guards will shoot the President without a second thought. You need to follow the big rock with two small peaks that's to the right of the setting sun. Pass to its right and to the left of the natural arch, then to the right of the pile of jagged rocks. Right after that, you should spot Elvis's space shuttle below. Go to it, and when the President arrives, the mission will be over.
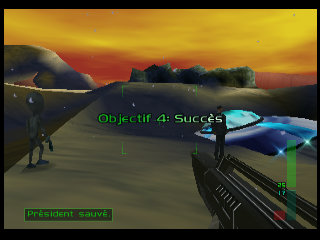
End of the Mission
Joanna checks in on the President and takes the opportunity to find out that Trent Easton wanted to borrow a US government deep-sea research vessel named the Pelagic II — a unique model allowing experiments to be conducted at great depths. Even though the President had no idea of Trent's betrayal, he had refused to lend it to dataDyne.

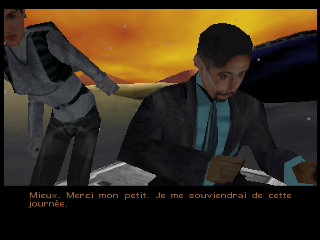


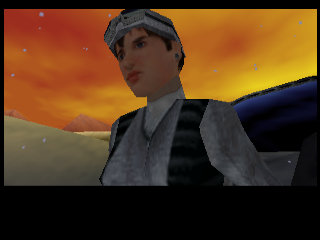
While Joanna says he'll have to answer for his actions, we find Trent talking with the mysterious tall blond man. The latter is furious at Easton's failure to obtain the submarine or hold on to the President. He declares that Trent is a corrupted asset and that "they" will do without him. As Easton pulls out his magnum and calls the blond man a "Scandinavian freak," the blond man transforms into a horrifying creature and kills Trent. But who really is this blond man? You won't learn any more in the next mission: Pelagic II: Exploration but you'll have to play it anyway.


| Back to PerfectDark walkthrough | Back to PerfectDark homepage |
| Back to Nintendo 64 home |
- Français -- العربية -- বাংলা -- Deutsch -- English -- Español -- हिंदी -- Italiano -- 日本語 -- 한국어 -- Português -- Русский -- 中文 -